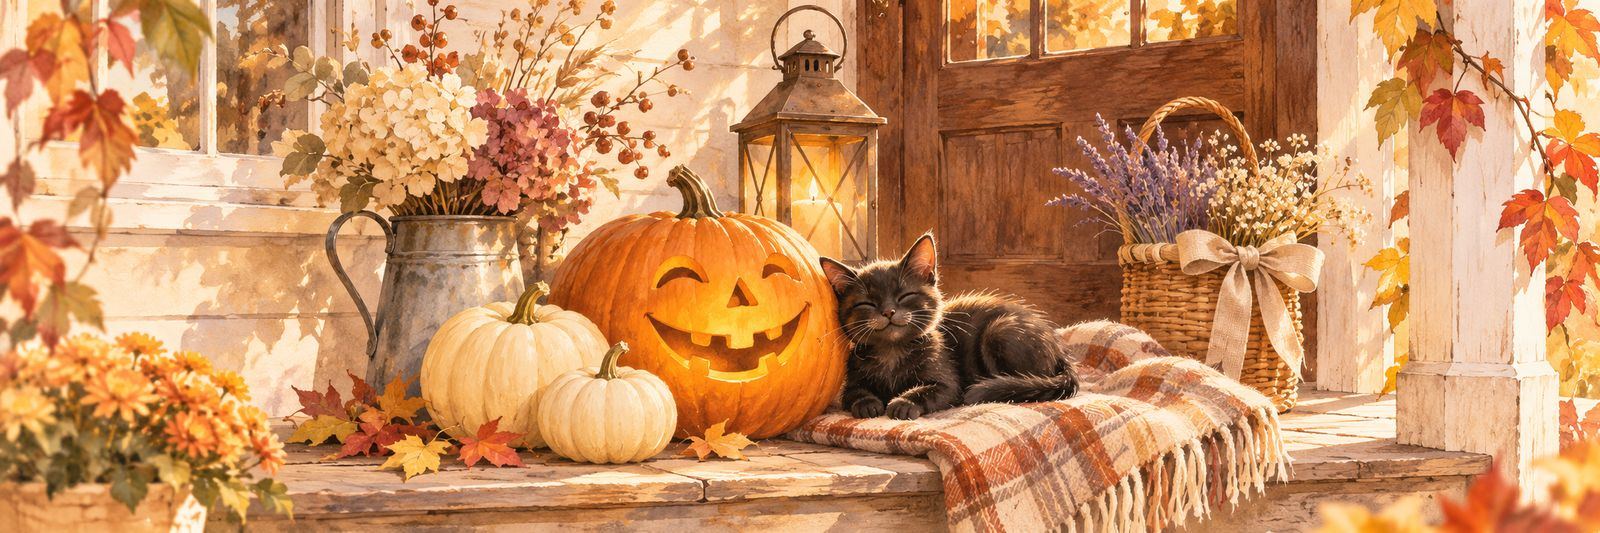
A row of finished Halloween pumpkins shows the designs. A few photographs of the people who made them can tell the fuller story: the careful sketch, the concentration, the joke that stopped everyone working for a minute.
Make a small photo record of your pumpkin-carving day without letting the camera interrupt the activity. Three or four well-chosen images per household can be enough.
Agree on photographs before starting
Agree on who will appear in the photographs and who will receive the finished album before you begin.
Someone who prefers not to appear can have their pumpkin photographed alone or contribute a caption. Participation in the activity should not depend on joining the album.
Choose one person to take occasional photographs so everyone else can stay involved. Avoid constant phones over the work surface.
Capture the beginning safely
Photograph the uncarved pumpkins, drawings or chosen design ideas before tools come out. Add a simple label with the date and the maker’s preferred name if they want it included.
For a picture of the maker, pause the activity and put tools down first. Do not ask someone to look at the camera while handling a sharp tool or working near another person.
A photograph of hands drawing a plan shows the beginning of the design. Put the sketch beside the uncarved pumpkin for a simple before picture.
Notice one moment of making
Look for a natural pause: comparing sketches, deciding on a shape or showing a completed section. Those moments make better pictures than a camera hovering over every step.
You do not need to document every step. Choose the moment that helps explain this person’s design or experience.
If children are decorating without carving, include their work on equal terms. The record can show several ways of making a pumpkin, not a hierarchy of who used the most complicated tools.
Photograph the finished work twice
Take one clear picture in good light so the design is easy to see, then try an atmospheric picture with battery-powered lights inside the pumpkins.
Use a simple background and avoid cropping off the stem or base unintentionally. Check the image before putting the display away so you know it is sharp enough to keep.
Add captions while people remember
Ask each maker for a title and one sentence about the design. Save their own words. Include the year and any detail that will be confusing later, such as which pumpkin belongs to which person.
Choose a small final set and organize the originals by year. A printed page or shared family album can become an annual record.
Next Halloween, look back before beginning again. You will see changing designs, growing skills and the people behind them, which is usually the part a photograph of pumpkins alone leaves out.