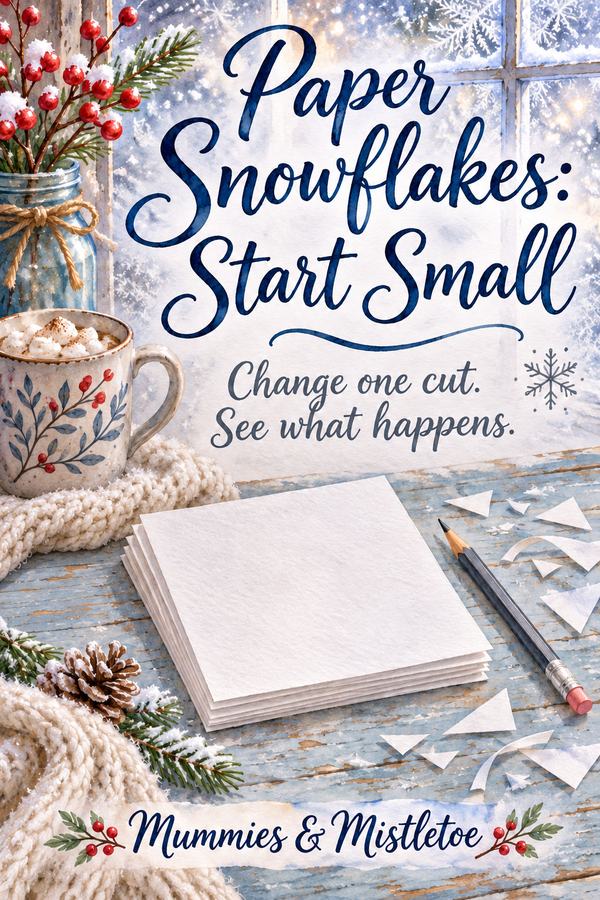
A folded scrap of paper opens into a shape nobody expected, and suddenly everyone wants another turn. These paper snowflake patterns start with just two folds. They open into four mirrored sections, making snowflowers and pointed shapes that are easy to vary. You can vary the cuts once you understand which edges need to stay connected.
Make the Two-Fold Base
Start with a square of ordinary lightweight paper about eight inches across. Fold it in half from left to right, then fold the rectangle in half from bottom to top. You now have a smaller square with four layers.
Turn that folded square so the corner where both folds meet sits at the lower left. Call it the center corner. The bottom and left edges are folded edges; the top and right edges are open edges made from the original paper's outside boundary.
Keep the folded square in this orientation while drawing the pattern. Mark a small dot at the center corner and an O near each open edge if it helps. These marks can stay on the back of the finished decoration.
Use scissors suited to the maker and paper thin enough to cut comfortably. An adult can prepare the folds and assist with cutting for younger children. Try one shape together before handing out several different patterns.
Make a Rounded Snowflower
On the four-inch folded square, measure 3½ inches upward from the center corner on the left fold, and 3½ inches rightward along the bottom fold. Draw a smooth outward curve between those marks, passing about 2½ inches up and 2½ inches right from the center corner. Cut away the paper above and to the right of that curve, keeping the center corner.
Cut one shallow V into the middle of the curved edge. Then cut a second, smaller V closer to one end of the curve. Keep the notches shallow so you leave a broad area of connected paper behind them.
Open the two folds slowly. The rounded outside shapes repeat around the center, with the small notches making a scalloped, petal-like edge. Flatten the folds gently with your hands.
For the next version, move the small notch to a different part of the curve or make it narrower. Changing one cut at a time helps you see how the folded shape becomes the open design.
Try a Pointed Window Star
Fold another eight-inch square in the same way. From the center corner, mark a point 1½ inches right and 1½ inches up. Draw two straight cut lines: from the upper-left corner to that point, then from that point to the lower-right corner.
Cut away the open upper-right corner along those two lines. The inward point stays 1½ inches from each folded edge. The remaining paper should still be one connected piece.
Add one shallow triangular notch to each new diagonal cut edge, leaving at least ½ inch of paper between cuts and away from the folds. Open the paper to see the points repeated around the shape.
This fold makes a broad four-pointed shape. Adjust the angle and depth of the V on a fresh square to make the points slimmer or the center wider, using the first piece as your guide.
Add Small Windows Without Breaking the Shape
To put a repeated opening inside either design, refold it along the same creases. Cut one small triangle into the middle of a folded edge. Don't cut all the way across to the opposite edge.
Open the paper and examine the hole. A notch cut through a fold becomes an opening when the paper unfolds. Its position and width determine how much connected paper remains around it.
Keep generous paper bridges between cuts. On an eight-inch starting square, leaving about half an inch or more between neighboring cuts is a useful first attempt, though the strength also depends on the paper and shape. Avoid narrow dangling strips that tear as you open the folds.
Leave the center corner intact for these first designs. Cutting it off creates a center hole, but it also removes a useful connection and can make an already narrow design fall apart. Try that variation only on a separate practice piece once the simpler shape works.
Test the Pattern Before Making a Set
Open each design over the table and check that it remains one piece. If part separates, put the pieces beside the folded pattern and see which cut crossed too far. Draw a shallower version on a fresh square rather than trying to repair every tiny break.
Choose one successful pattern to repeat in a larger and smaller size. Trace the same general cuts onto a new folded square, scaling them to leave broad connections. The pieces don't need identical details to look related in a window.
Keep one folded example with pencil marks showing the cuts. It becomes your own pattern reference for another afternoon. Label it rounded or pointed so you know what to expect before unfolding it.
Arrange a Window That Looks Like Falling Snow
Use a window-safe removable method appropriate for the glass and test it in an inconspicuous spot first. Attach the paper lightly so it can be removed without scraping. Keep decorations away from heaters and from window mechanisms you need to use.
Arrange a few larger shapes toward one side and let smaller ones trail across or downward. Leave gaps so the daylight can show each edge. A dense wall of paper can hide the cuts you worked to make.
Keep your favorite folded pattern with the paper supplies. A few more squares and the same two folds will give you matching snowflowers whenever the window needs another flurry.
If you're planning the rest of a winter welcome, browse Mummies & Mistletoe for seasonal details beyond the window. Keep the paper snowflakes as the handmade part, with any purchased accent chosen to work beside them.