

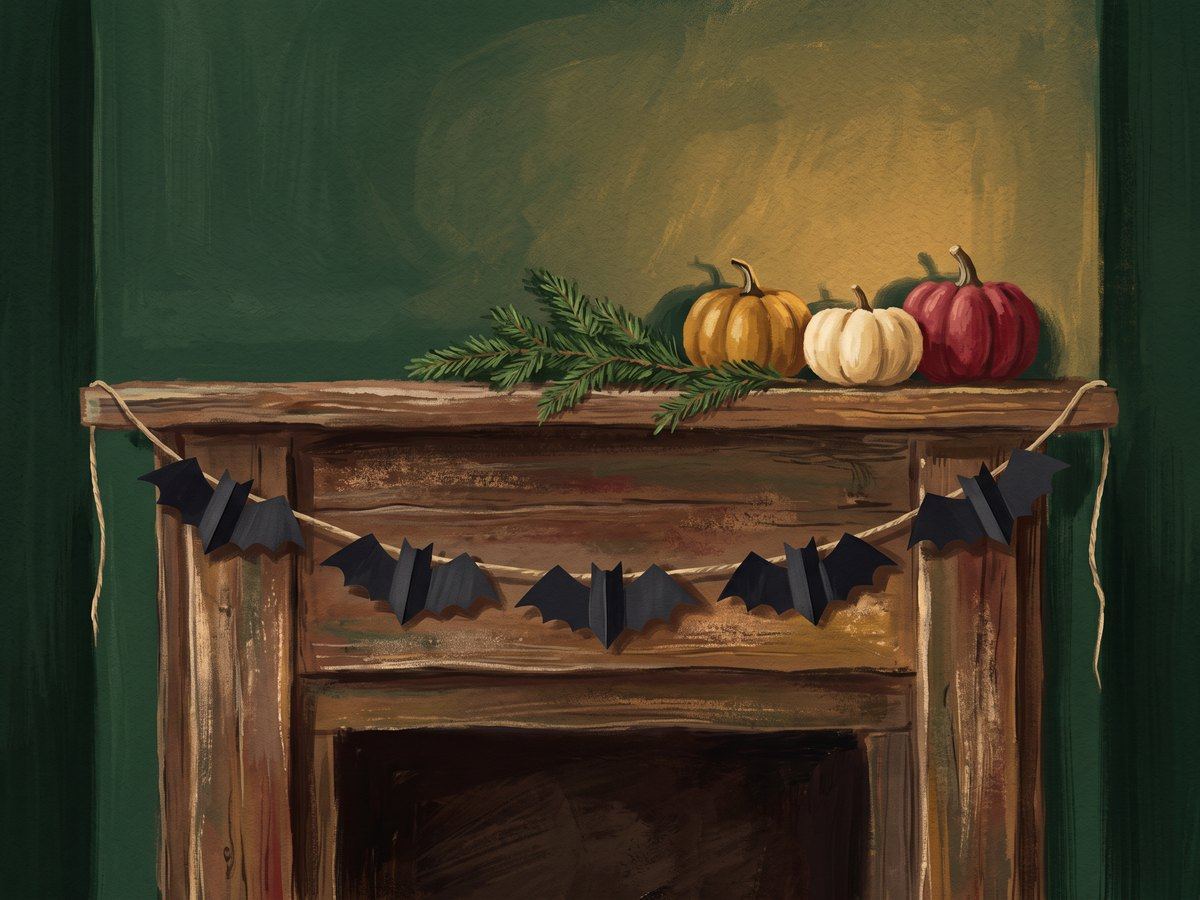
- Time · 40 min
- Ages · 5+ (safety scissors)
You'll need
- Black card or construction paper (letter / A4 sheets)
- Pencil, and scissors (safety scissors for younger children)
- Baker's twine or string, about 6 ft (2 m)
- Hole punch, or clear tape
- Optional: white gel pen or silver pencil for faces
Steps
- Fold a piece of card in half. The fold will be the middle of the bat's body.
- Against the fold, draw half a bat: a rounded body with one pointed ear on top, and one wing reaching outward. Give the bottom edge of the wing three scallops.
- Cut along your line while the card is still folded. Unfold, and you have one bat.
- If you're happy with it, use it as your template. Trace around it on folded card and cut out ten or eleven more.
- Fold each bat's wings gently upward along the body so they look mid-flap.
- Punch a hole near the top of each wing (or tape the bats to the back of the twine).
- Thread the bats onto the twine about a hand's width apart. Hang in a doorway, on a mantel or along a bookshelf.
Safety
- Grown-ups help with the hole punch and the trickier curves.
- Keep garlands away from heaters, fairy-light bulbs that get warm, and anything with a flame.
If it goes wrong
- The bat came apart in two halves: the body wasn't touching the fold. Draw the body right up against it.
- Bats keep spinning around: use two holes per bat, one on each wing.
- Too plain: give them white-pen eyes and one tiny fang each.
Make it yours
Cut a few bats from old book pages or brown kraft paper for a mixed colony.
