
- Time · 45 min
- Ages · 3+ (it's painting)
You'll need
- Pumpkins with smooth, dry skin (small ones are perfect for small hands)
- A damp cloth, then a dry one
- Acrylic craft paint or paint pens, and a couple of brushes
- Chalk or a white pencil for sketching
- Optional: white masking or washi tape (mummy stripes), black paper and double-sided tape
- Newspaper or an old sheet to work on
Steps
- Wipe each pumpkin with a damp cloth, then dry it completely. Paint won't stick to a wet or dusty skin.
- Turn it until you find its best side.
- Sketch the face lightly in chalk. Chalk wipes off, so try a few expressions.
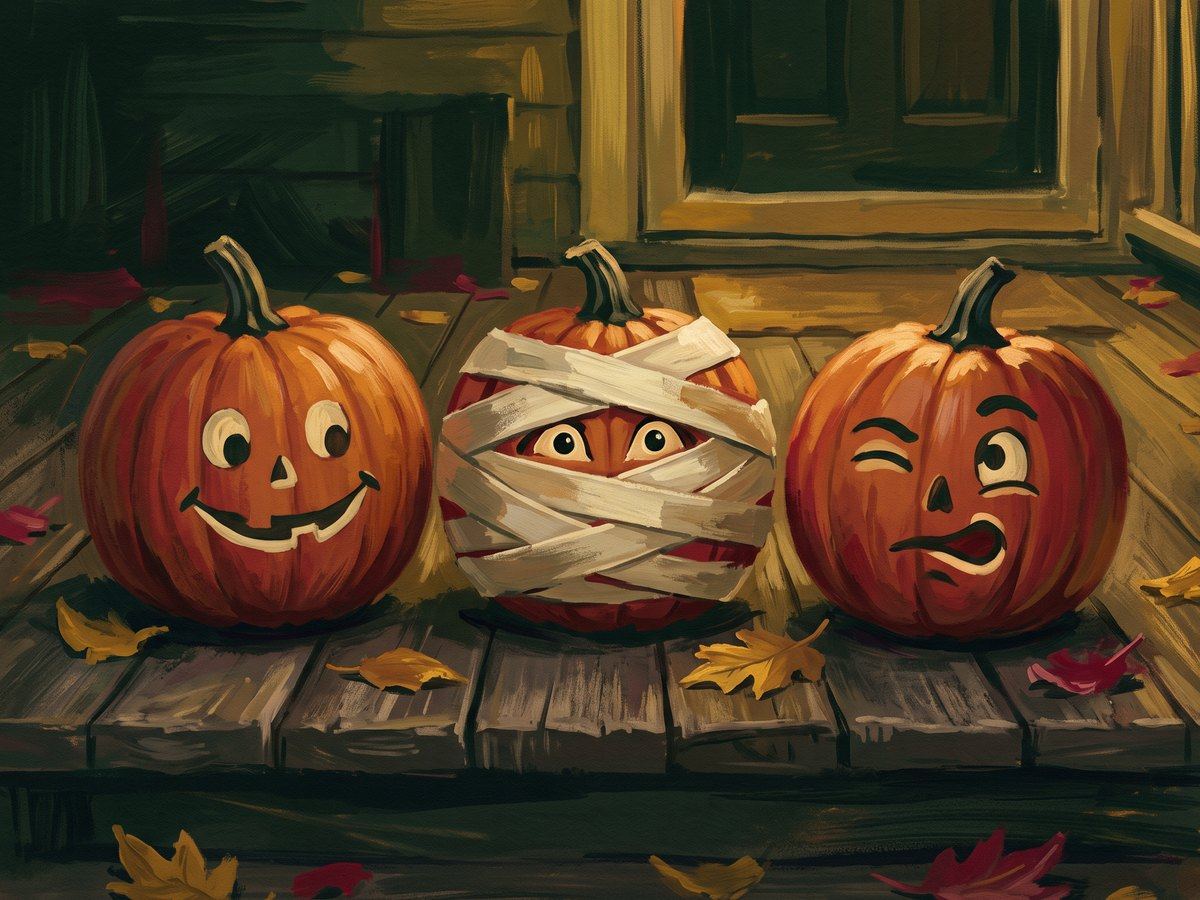
- Paint the big shapes first, the eyes and the mouth. Let them dry for about ten minutes, then add the details: teeth, eyebrows, freckles.
- For a mummy pumpkin, wrap strips of white tape around it at angles, and leave a gap for paper or painted eyes.
- Let the paint dry fully before moving it outside.
- Set it somewhere cool and dry, off damp ground. Bring it in if a hard frost is coming.
Safety
- No knives are needed for this one.
- Painted pumpkins are not for eating afterward, and they should not go in the compost with paint on them.
- Acrylic paint stains clothes, so wear old T-shirts.
If it goes wrong
- Paint is streaky: let it dry and add a second coat.
- Made a mistake: wipe the acrylic off right away with a damp cloth. Once it is dry, paint over it.
- Soft spots appearing: the pumpkin is past its best. Compost it if it's unpainted, and pick a new one.
Make it yours
If someone in your house does want to carve, a grown-up does all the cutting. Use a small serrated pumpkin saw, not a kitchen knife, on a steady surface with dry hands. Kids scoop and design. Light it with an LED.
