

- Time · 1 hour + 2 to 3 weeks drying
- Ages · 7+ (the poking takes patience)
You'll need
- Firm, fresh oranges with smooth, unmarked skin
- Whole cloves (a 2 oz (50 g) jar covers one or two oranges)
- A toothpick or a thin wooden skewer
- Ribbon, about 2 ft (60 cm) per orange
- Optional: a few tablespoons of ground cinnamon, for rolling the finished orange in
Steps
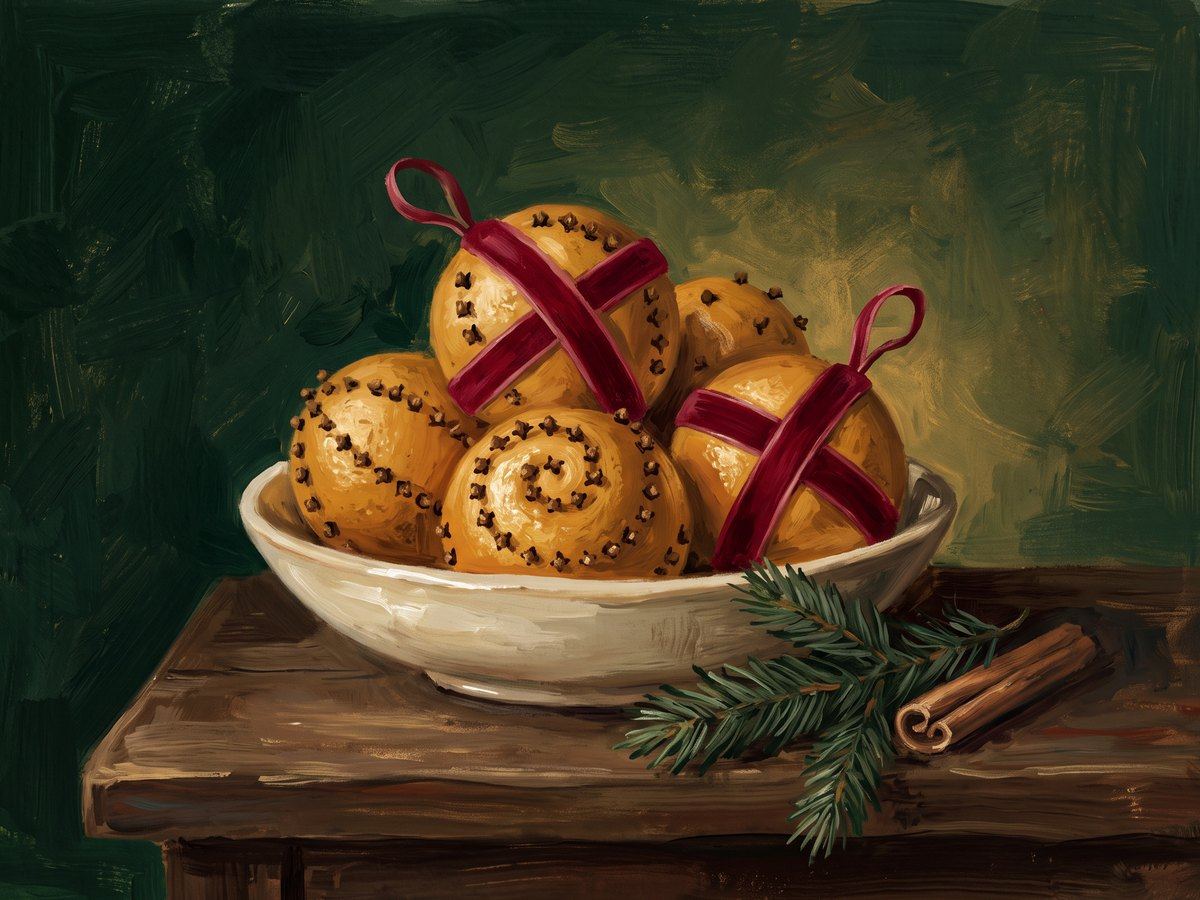
- Pick a design first: neat rows, a spiral, a star, or cloves all over. Cover most of the skin, so the orange dries instead of spoiling.
- If you plan to hang it, leave a bare band where the ribbon will go. Tie a rubber band around the orange as your guide.
- Poke a hole with the toothpick, then push a clove in. Poking first keeps the clove stems from snapping, and it saves your thumbs.
- Keep going, and put the radio on for the slow, happy part.
- Optional: roll the finished orange in ground cinnamon for an extra dusting of spice.
- Set it in a cool, airy spot for two to three weeks. Try not to tuck it in a sealed box. Turn it every day or so. It will shrink, harden, and get lighter as it dries.
- Tie ribbon around the bare band, knot it on top, and hang it up. Or pile a few in a bowl.
Safety
- Keep cloves and finished pomanders away from toddlers and pets. Cloves are small and sharp-ended.
- If an orange goes soft or grows mold while it dries, throw it away and start fresh.
If it goes wrong
- Mold: the cloves were too far apart, or the room was too damp. Pack them closer next time, and dry the orange somewhere with moving air.
- Sore fingers: wear a thimble, or push the cloves in with the back of a teaspoon.
Make it yours
Start yours in early November, and they'll be dry, fragrant, and gift-ready by mid-December.
