The scissors are out, and the paper scraps are already taking over one end of the table. These spring flower crafts turn a few sheets into a small bouquet you can set beside a breakfast plate or tuck into a gift bag. Each flower has five rounded petals, a flat stem and a little folded leaf.
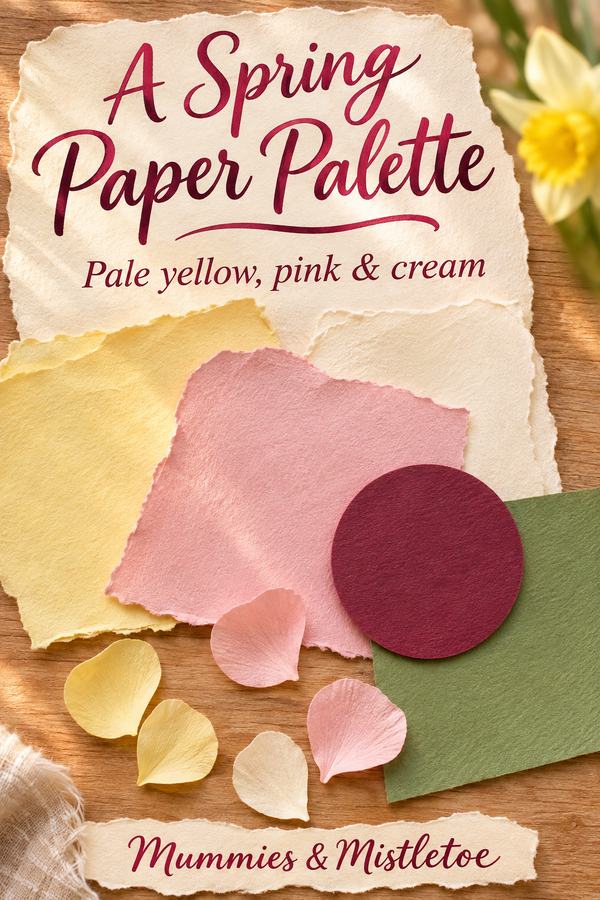
The bouquet uses paper rather than wire, so the shapes stay simple enough to draw yourself. Make three flowers first, then add two more if you want a fuller bunch. Pale yellow, pink and cream look lovely together, with one darker center repeated across all the flowers.
Supplies for Five Flowers
Gather three sheets of colored paper, one sheet of green cardstock, a small scrap for the centers, scissors, a ruler, a pencil, craft glue and a little tape. You'll also need a sheet of plain wrapping paper for the sleeve and a mug or short jar for arranging the finished stems.
Ordinary craft paper is easier to curve than heavy cardstock. Reserve the sturdier green card for the stems, where the extra weight helps. Choose glue intended for paper and follow its drying instructions before moving the flowers.
This is a table craft for older children and adults who can use scissors comfortably. For younger helpers, cut the pieces beforehand and let them choose colors and press the petals into place.
Cut a Repeatable Petal Shape
Draw a rectangle 1 inch wide and 1 1/2 inches tall on a scrap of card. Round the top two corners into a broad oval, leaving the bottom half inch fairly straight. Cut this out as your petal pattern.
Trace five petals for each flower, for a total of 25. Cut five backing circles about 1 1/4 inches across and five center circles about 3/4 inch across. The circles can be traced around household objects of the right size; they don't need to be mathematically perfect.
Gently curl the rounded end of each petal around a pencil. Aim for a soft bend toward the front, not a tight roll. Leave the straight base flat so it will sit against the backing circle.
Layer Five Petals Around Each Center
Place one backing circle on scrap paper. Arrange five petal bases around it, with the curved ends pointing outward, and adjust the spacing before adding glue. Let each base overlap the circle by roughly half an inch.
Glue the petals down one at a time. The bases can overlap slightly, while the rounded ends remain separate. Glue the small center circle over the joins and leave the flower lying flat until the adhesive has set.
For a softer-looking center, cut tiny snips around the edge of that small circle before attaching it. Keep the snips shallow so the circle stays in one piece. Lift the fringed edge with a fingertip once the glue is dry.
Give Each Flower a Sturdy Stem
Cut ten green strips about 3/4 inch wide and 8 inches long. Glue them together in pairs, keeping the edges aligned, to make five double-layer stems. Let them dry flat under a clean scrap of paper and a book if the card begins to curl.
Attach the upper inch of each stem to the back of a flower with glue and a short strip of tape across the join. The tape belongs on the back, where it won't interrupt the petals. Shorten the stem of any flower that droops.
Cut five leaves about 1 inch wide and 2 1/2 inches long, each with a narrow half-inch tab at its base. Fold the leaf gently lengthwise, unfold it slightly, and glue only the tab to the side of a stem. Alternate the sides so the bouquet doesn't lean in one direction.
Arrange a Bouquet With a Front
Place three stems at different heights in a dry mug or jar. Add the remaining two slightly lower, turning every flower face toward the room. Paper stems are easier to arrange as a front-facing bouquet than as a round florist's bunch.
To lift a short stem, tuck a loosely folded piece of scrap paper inside the vessel. Keep the flower heads close enough to read as a group, but leave room to see the curved petals. A patterned mug can supply the color that ties the bouquet to a recipient's kitchen.
For a gift, lay a 9-inch square of wrapping paper like a diamond. Set the bouquet on top with the blooms extending above the upper corner, fold the bottom point over the stem ends, and bring the side corners inward. Tape the overlap on the back.
Turn One Flower Into a Place Card
For a smaller version, use one flower on a 4-inch stem and write a guest's name on its leaf before attaching it. Lay it across a folded napkin with the flower just above the plate's center. Keep the paper away from food and remove it before serving.
You can also tape a single flower to the outside of a wrapped journal, with the stem following the ribbon. Choose a center color that repeats a detail on the cover, then write your message on the back of the leaf.
Before giving the bouquet, lift it by the sleeve and check that every stem stays put. Add your note, turn the prettiest flower toward the front, and set the finished bunch beside the recipient's cup.
If the bouquet is going with a writing gift, the Owl and Roses journal gives the paper flowers a dark floral backdrop. Pick one rose color for your petals and tuck the handmade note inside the cover.