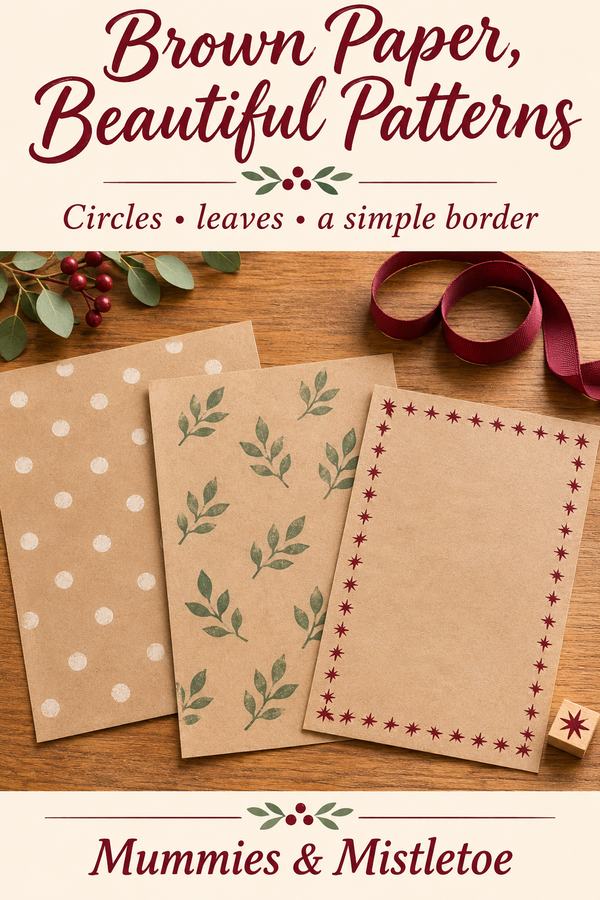
The roll of brown paper is already on the table, and a few plain shapes can make it feel like wrapping chosen for one person. These brown paper gift wrapping ideas use hand-stamped patterns before the gift is wrapped. Work on one sheet at a time so you can test the print, let it dry and place the pattern where you want it.
Choose a simple stamp made for paper and a compatible ink or paint. A circle, small leaf or star is enough for the first sheet. The spacing between the shapes will do much of the design work.
Set Up Brown Paper Gift Wrapping Ideas on a Test Sheet
Gather brown wrapping paper, a paper-craft stamp, its suitable ink or paint, scrap paper, pencil, ruler and a protective work surface. Follow the product directions for applying and drying the color. Test on a scrap from the actual roll because paper surfaces can behave differently.
Cut a sheet large enough for the gift, leaving some extra room while you work. Keep the paper flat on the protected table. If it curls, hold the unused edges with clean weights that will not touch the printed areas.
Make several test impressions before printing the main sheet. Try a light, even application and lift the stamp straight up. Choose the amount of color that gives the mark you like without spreading into a thick patch.
Try a Quiet Grid of Circles
For the first pattern, use a small circle stamp and place the centers about 2 inches apart in both directions. Make a few faint pencil marks along the edges of the paper as guides. You can line up the rows by eye between those marks.
Print one row, then move down to the next. Keep the same spacing and let small differences in the impressions remain. The regular arrangement gives the pattern its structure, while the handmade marks keep it from looking mechanically identical.
Use one color for a calm sheet or alternate two colors across each row. Cream and a muted green can soften the brown background. Test the actual colors together first, since the brown paper may show through them.
Make a Staggered Leaf Pattern
Choose a small leaf stamp and print the first row with the centers about 3 inches apart. Place the next row about 2 inches below it, shifted sideways by roughly 1.5 inches. Repeat those two rows to create a staggered pattern.
Turn every other leaf slightly if you want movement. Keep the angle changes consistent enough that they feel intentional. A small leaf with room around it can be easier to wrap attractively than a large motif cut across several folds.
Use the pattern on a book-shaped gift or a rectangular box where the flat front gives it space. Leave a quieter area for a plain card if you intend to add one. Plan that area before filling the whole sheet.
Build a Border Instead of an All-Over Print
For a different look, dry-fit the unprinted sheet around the gift and lightly mark the front panel's position on the reverse. Flatten the sheet again, then mark a band about 2 inches wide across that panel. Use scrap paper beside the band as a visual guide while you print, removing it carefully before the color dries against any edge.
Print small stars, circles or another simple shape within that band. Keep the rest of the paper plain. A concentrated line of pattern can look complete without covering every surface of the present.
Leave the area where the paper will overlap plain if you can. A name tag can sit beside the printed band, where its lettering won't compete with the little shapes.
Let the Print Dry Before Testing the Wrap
Use the drying time and conditions stated for your chosen medium. Keep printed sheets flat and separate while they dry. Avoid stacking them simply because the surface looks dry from a distance.
Once the print is dry, test a spare piece against clean paper to check for transfer. Fold another test area to see how the print behaves across a crease. Resolve smudging or cracking on the test piece before wrapping the actual gift.
If the result is unsuitable, change the amount of color or use a different paper-compatible medium. Keep the successful test scrap with a note about what you used. That gives you a starting point for the next sheet instead of repeating the experiment.
Wrap With the Main Pattern in View
Place the gift on the reverse of the finished sheet and check the design's position before cutting away excess paper. Put the neatest part of the print on the front. Let the join fall at the back where practical.
Fold gently and keep the paper close to the package without pulling it so tightly that it tears. Use the amount of tape needed to hold the joins. The printed sheet is the main decoration, so a plain card or simple band can finish it.
For a round or irregular gift, consider placing it in a suitable box first. A rectangular surface makes the planned pattern easier to show and can simplify wrapping. Choose a box that fits the gift rather than one that adds a great deal of empty space.
Use the Scraps for a Related Finish
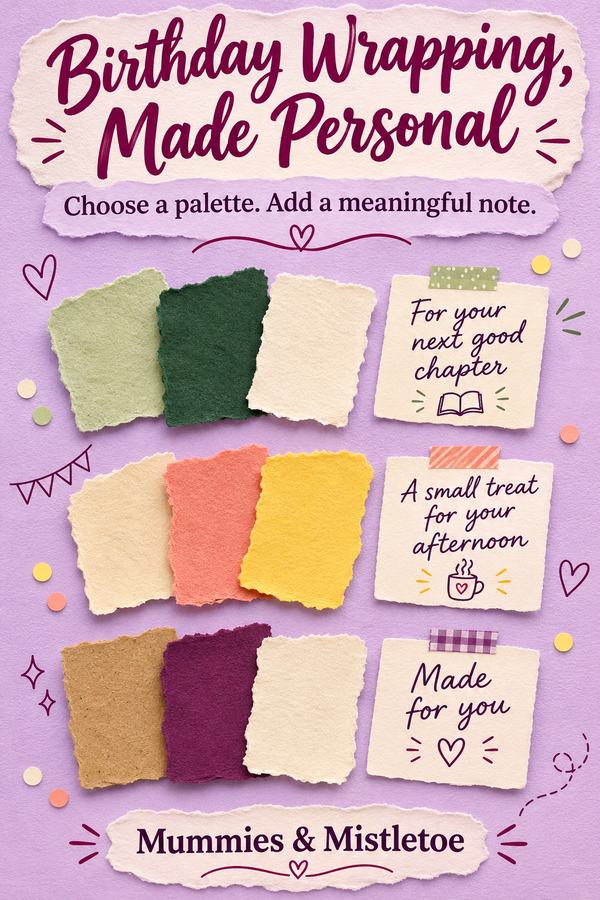
Save the printed offcuts that are large enough to use. A strip can decorate the front of a plain gift bag, or a small rectangle can sit behind a handwritten message on a separate card. Keep the words on a plain area so they remain readable.
Store dry scraps flat with the stamp or your wrapping supplies. Label the successful color combination if you want to repeat it. A few finished sheets and useful offcuts are easier to keep than a pile of half-dry experiments.
Set the wrapped gift on the table with the printed front facing up. The spaces between the marks are part of the pattern, too.
If you're still choosing what to wrap, explore Mummies & Mistletoe with your recipient's favorite colors in mind. Pick one quiet shade from the gift for your stamped pattern, leaving the handwritten name easy to see.