Make a paper chick, decorate a few eggs and turn a favorite one into an Easter card. These three projects use the same small set of supplies, so children can choose one or spend an afternoon moving between them. A grown-up can prepare shapes for younger children while older makers do their own cutting.
Put the Paper and Crayons Within Reach
Gather yellow, orange and white paper, a few sheets of colored cardstock, crayons, washable markers, child-safe scissors and a glue stick. Put a washable covering on the table and give each child a sheet of scrap paper for gluing. Keep a tray nearby for finished pieces to dry.
For each child, prepare one yellow circle about five inches across, one orange triangle for a beak, two orange feet, three egg shapes about four inches tall and one piece of cardstock for a folded card. These are suggested sizes; larger shapes give small hands more space.
Use age-appropriate tools and supervise cutting. Draw the eyes with crayons rather than using loose craft eyes or beads, especially when younger children are sharing the table.
Show one plain example, then let the children decide on colors and faces. A chick with blue wings or an egg covered in enormous dots still follows the project. The finished pieces don't need to resemble one another.
Turn a Circle Into a Standing Chick
Fold the yellow circle in half to make a semicircle, then open it slightly so the two curved edges rest on the table. The fold becomes the chick's back. Turn one outside face toward you for the eyes and beak.
Glue the orange triangle below the middle of that face. Draw two eyes above it and add short crayon strokes for feathers if you like. Cut two small wing shapes from spare yellow paper and glue them near the sides, leaving their outer tips loose.
Make each foot from a short orange strip with three toes drawn at one end. Glue the straight ends inside the bottom edge of the front half so the toes peek out. Let the glue dry before standing the chick up.
If the chick slides too far open, fold a short strip of paper into a bridge between the inside front and back. Glue one end to each half near the bottom, adjusting the strip so the chick stands with a modest gap. A grown-up can help hold it while the glue sets.
Fill an Egg With Three Different Patterns
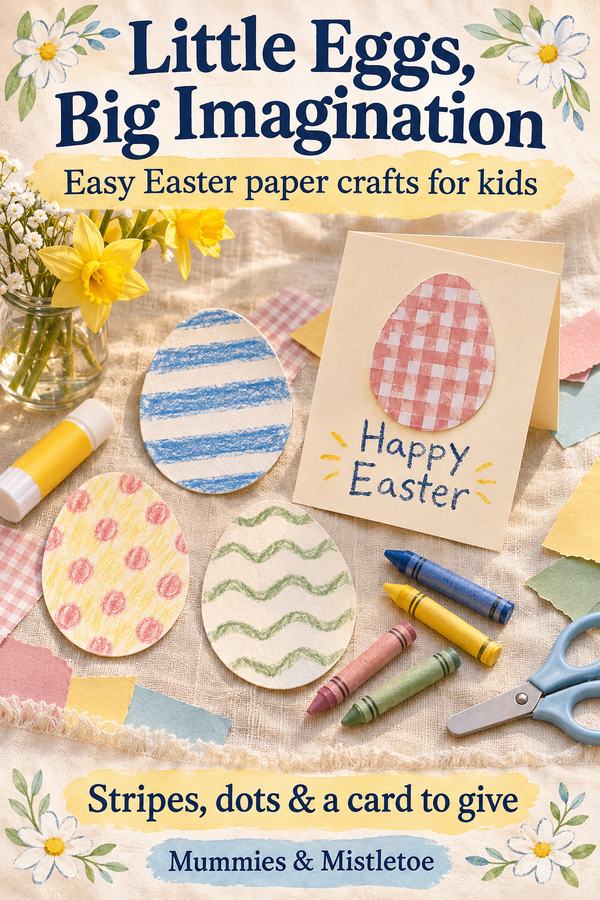
Give each child three white paper eggs and let them choose a different pattern for each. One might have wide stripes, another a field of dots, and another a wavy line with little leaves. Show them how to make one stripe or dot, then let them take over.
For children who like a starting point, draw two curved lines across an egg to divide it into three bands. Fill each band with a different mark. Older children can repeat the same three colors in different orders across all their eggs.
A paper-collage version works well for children who prefer tearing to drawing. Tear colored paper into small strips, glue them across the egg, and trim the excess once dry. Keep the egg on scrap paper while gluing so it can be lifted without sticking to the table.
Let each child choose a favorite egg for the card. The others can make a little gallery on the refrigerator or become a backdrop for the standing chick.
Make a Card Someone Can Open
Fold a standard sheet of cardstock in half, then trim it smaller if you want a more compact card. Place the chosen decorated egg on the front, leaving room above or below for a short greeting. Glue the egg flat and press gently from the center outward.
Write Happy Easter on the front, or let the child dictate a greeting for you to copy. Inside, invite them to finish a concrete sentence such as 'I liked it when we...' or 'I hope we can...' A memory of baking or a wish to play together gives the card something personal to say.
A child who isn't writing yet can draw the two of them doing an activity. Ask whether they'd like you to add their words underneath. Read the message back before writing it so it remains their message.
Leave the card open until any glue is dry. Put the recipient's name on an envelope, or fold a plain sheet of paper around the card and seal it with a piece of tape.
Let Different Ages Share the Table
Younger children can decorate precut eggs while an older child makes the standing chick. Keep the main colors and materials within everyone's reach, but put cutting tools where the adult supervising can manage them.
An older child may enjoy making a whole family of chicks in different sizes. Another might turn the egg patterns into a repeated border inside the card. Let each child decide whether another project sounds fun.
If attention runs out after one egg, that egg is a complete craft. Put it beside the card supplies for another day instead of finishing it for the child.
Give the Finished Work a Home
Make room on a shelf for the chicks and place the extra eggs behind them. Prop a card open only after it is dry, so the front can be seen without bending the decoration.
Let the children decide who gets the cards and where the chicks should live. Their color choices, crooked smiles and enormous dots are what will make this Easter's collection different from next year's.