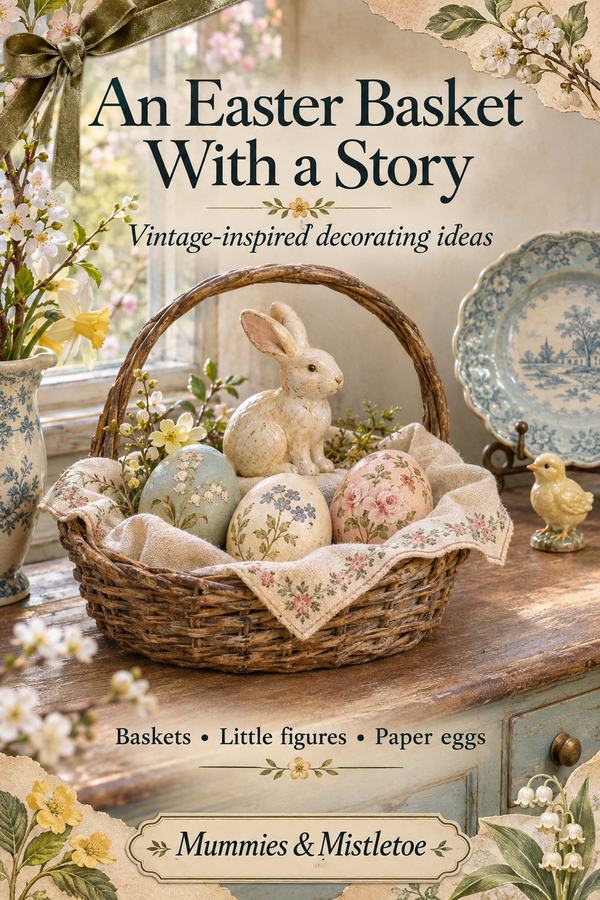
The Easter box comes out with a bent basket handle, a few painted eggs and a rabbit wrapped in last spring's tissue. Vintage Easter decor can begin with those slightly mismatched things. A small collection looks more personal when each piece has a place rather than being spread evenly across every shelf.
Choose the Collection's Character
Start by sorting the contents into materials, not colors. Put paper ornaments together, gather the little animals, and set baskets beside any fabric or ribbon. This shows you what you have enough of to build around.
For a nursery-story look, use painted chicks, a shallow basket and pale yellow. For a country-house look, bring together brown wicker, faded floral fabric and cream eggs. For something more delicate, choose paper eggs, narrow ribbon and a pale blue plate as the background.
Pick one of these directions for one surface. You can use pink, blue and yellow together, but let one color appear on the largest object and the others in smaller details. A yellow basket lining with two blue eggs and a pink bow reads as a deliberate grouping even when the pieces came from different places.
Line a Basket Like a Little Display Case
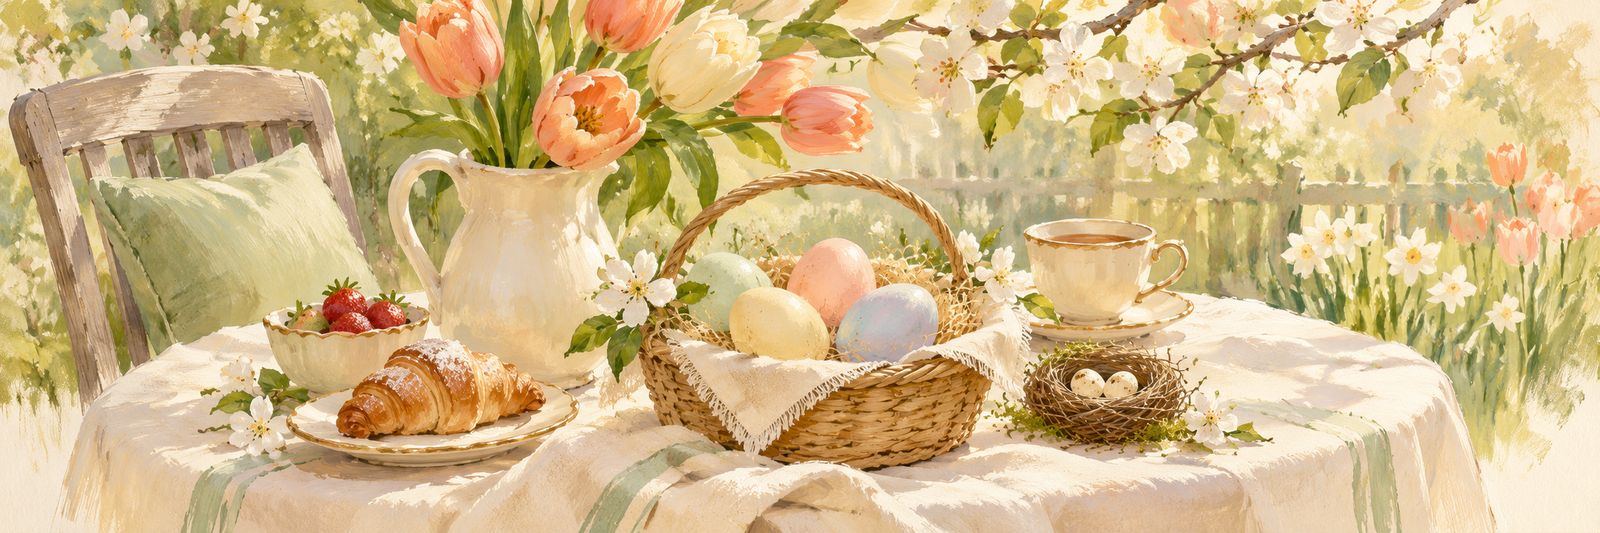
Choose a shallow basket roughly the size of a dinner plate. Set a folded cotton napkin inside so two corners fall over the rim, then turn the basket until its handle sits behind the display, clear of the main figure's face.
Place the largest rabbit toward the back. In front, arrange three decorative eggs in a loose curve, with their pointed ends facing different directions. If the rabbit disappears below the rim, raise it on a firm cardboard platform concealed beneath the napkin.
A floral handkerchief makes a pretty lining, but its print should be smaller than the animal you're displaying. Large flowers can swallow the little faces and egg patterns. Fold a busy fabric so only a narrow border shows, and use a plain napkin beneath the objects.
For a basket without a handle, tie a narrow ribbon around one side of the rim. Leave its ends short enough that the basket can be lifted without catching them. This arrangement belongs on a hall chest or sideboard where you can look down into it.
Send the Chicks Across a Cupboard Shelf
A row of small figures doesn't have to stand shoulder to shoulder. Arrange three chicks as though they're moving toward a shallow dish of decorative eggs. Turn the middle chick slightly away from the others, and leave a gap before the dish.
Try this on a shelf about two feet wide. Give the dish the right-hand third and let the chicks occupy the left and middle. Behind them, stand a pale plate in a properly sized plate stand so their silhouettes show against it.
Keep the figures together on one shelf surface. The small change in direction supplies the movement. A single scrap of gingham beneath the egg dish adds pattern without turning the whole shelf into a fabric-covered stage.
If you have only one chick, use it beside two eggs in an egg cup. The smaller arrangement works at the end of a kitchen dresser, next to dishes you still use.
Make Printed Paper Eggs for the Missing Pieces
Paper eggs are an easy way to bring a favorite pattern into the collection. Use your own floral drawing, purchased scrapbook paper or a pattern licensed for the project. A cream ground with small blue flowers looks especially pretty beside plain wooden eggs.
Draw an egg about four inches tall on plain cardstock and cut it out as a pattern. Trace four eggs onto your chosen paper, cut them, and glue each to a matching cardstock backing. Let them dry flat before trimming any uneven edges.
You can leave them flat for a plate display or make a standing egg from two backed shapes. Before folding, stack the shapes and trim a small straight edge across both bottoms so they share the same level base. Fold each lengthwise, glue their back halves together on one side, then open the remaining halves into a three-sided screen. Rest all three flat bottom edges on the table and adjust the folds until the egg stands; if it rocks, use the flat version in a plate stand instead.
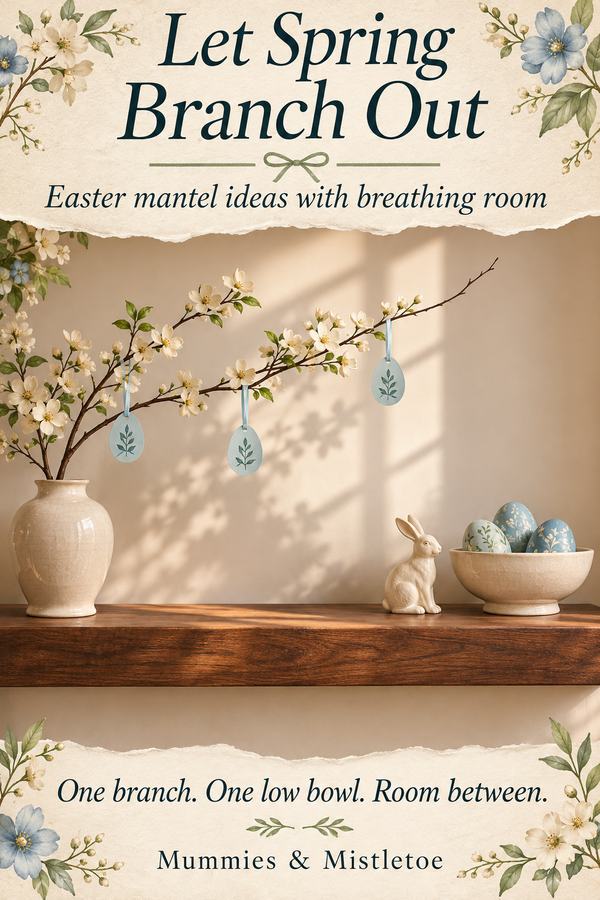
For hanging eggs, keep the shape flat and punch a hole near the top after the glue has dried. Thread with narrow ribbon. These paper versions look especially sweet in a basket of plain wooden eggs, where the different surfaces are easy to see.
Mix Family Pieces With New Finds
An inherited basket can be the heart of a display even when the eggs and paper rabbits are new. If you enjoy collecting antiques, keep the seller's notes about age and origin with the piece, especially when its history is part of the appeal.
For decorating, a reproduction can do the job beautifully. Put a newly made paper rabbit beside an inherited basket, and let the basket be the family piece. You don't need every object to have the same history.
Keep delicate originals out of direct sunlight and away from damp arrangements. Use a copy of an old card if you want it displayed beside fresh flowers. That leaves the original available to bring out and read without water spots or adhesive on it.
Put the Collection Away So It Returns Intact
Pack the pieces by arrangement when you can: the basket lining with its ribbon, and the chicks with their little egg dish. Add a note about any family pieces so their stories stay with them.
Wrap small figures separately and store paper eggs flat. Untie ribbons carefully to release any pressure on fragile handles. When the shelf is empty again, the pale plate can return to its everyday place in the dresser.
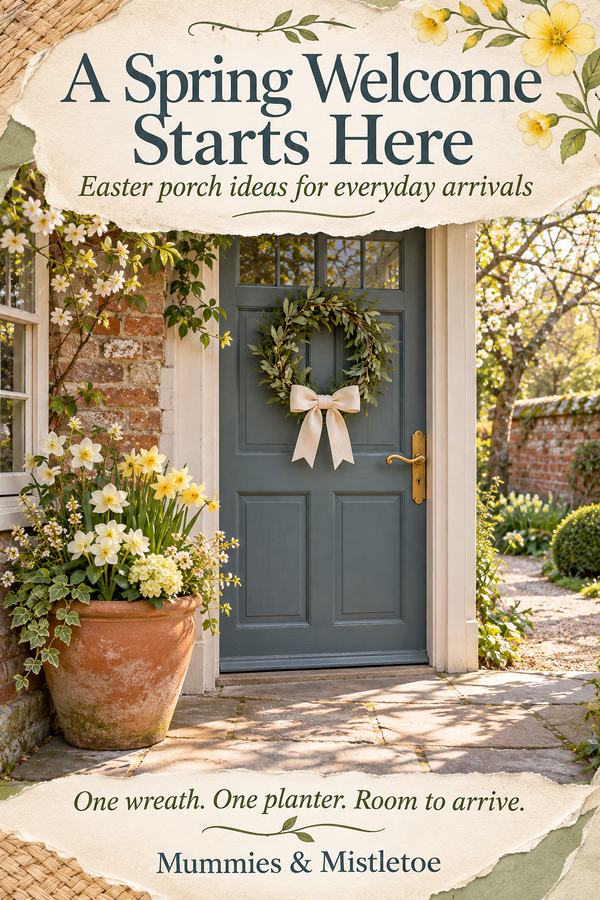
If you'd like to carry an Easter welcome outside too, visit the Easter collection at Mummies & Mistletoe. Its faith-centered flag can stand on its own while the vintage basket and little keepsakes keep their place indoors.