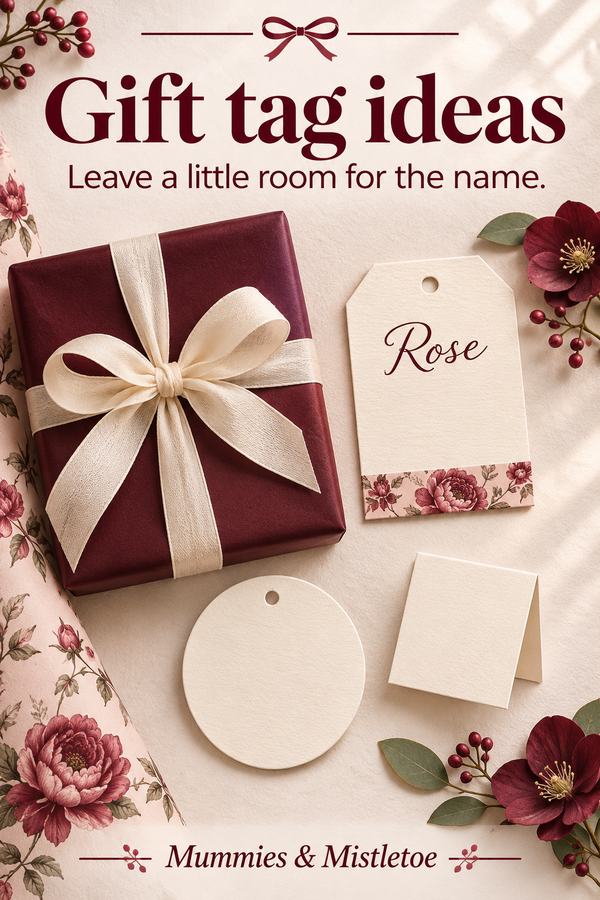
Save a few scraps of your favorite wrapping paper for the gift tags. A narrow floral strip, a tiny paper star or a leaf cut from plain green paper can tie the whole parcel together. These three shapes leave plenty of room for the recipient's name and a note in your own handwriting.
You can make all three versions from cardstock, with small scraps of wrapping paper for decoration. A rectangle suits a box, a folded tag gives room for a private message and a round tag can soften a plain gift bag. Make one sample before cutting a whole set.
Gather a Small Tag-Making Kit
Use cardstock, a ruler, pencil, scissors, a hole punch and a pen that writes well on the card. Add paper glue or suitable adhesive, a few wrapping scraps and ribbon or cord for attaching the tag. Work on a protected surface and use tools appropriate for the maker's age.
Choose a card color that contrasts with your pen. Dark lettering on a pale surface is often easier to read than a delicate ink color on patterned paper. Test the pen on a scrap and let it dry before brushing your hand across it.
Write the recipient's name first, then arrange the decoration around it. Light pencil guides help if you want straight lettering; erase them after the ink dries. A little flower tucked beside the final letter can look especially sweet.
Make a Rectangle for a Wrapped Box
Cut a rectangle about 2 by 3 1/2 inches. Mark a small point at the center of one short edge and punch a hole roughly half an inch below it, leaving enough card around the hole to resist tearing. Test the placement on your sample before repeating it.
Add a narrow strip of matching wrapping paper along the opposite short edge. A strip about half an inch deep leaves most of the tag plain. Glue it flat and let the adhesive dry before writing close to it.
Write the name in the open area, with a short message on the back. Thread a soft tie through the hole and attach the tag to the package ribbon. Keep the tie loose enough that the tag can be turned over without bending.
Fold a Small Tag Around a Personal Note
Cut a piece of card about 2 by 4 inches and fold it in half to make a 2-inch square. Crease the fold with your fingers or a suitable paper-folding tool. Write the name on the front and the longer message inside.
Decorate one corner with a small square or triangle of the wrapping paper. Leave the fold clear so the tag opens easily. You can also draw one simple line that repeats a shape from the wrap, such as a leaf or a small star.
To attach it, punch a hole through the back panel near an outer corner, away from the fold. Tie that panel to the gift ribbon so the front can still open. Test the opening with the tag in place before tightening the tie.
Cut a Round Tag for a Gift Bag
Trace a circle about 2 1/2 inches across onto cardstock and cut it out. A cup or another round household object can be used as a tracing guide if its size suits the bag. Mark the hole near the top, leaving a generous border of card around it.
Write the name across the center, then add a small paper detail below it. A plain circle works well against a patterned bag; a circle edged with a narrow hand-drawn border can finish a plain bag. Keep the writing upright relative to the hole.
Tie the tag to one handle so the bag opens easily. Trim the ribbon tails to sit neatly above the base of the bag.
Match the Pattern Without Copying Every Detail
Choose one color from the wrap for the cardstock or lettering. With pink flowers and green leaves, try a cream tag edged with a green strip. That single borrowed color makes the tag feel at home on the package while the name stays easy to read.
For plain brown paper, try a pale tag with a dark border and one paper leaf. For a dark solid wrap, use a light tag and keep the decoration to one corner. On a very small gift, a narrow tag tucked under a flat band can look neater than a large hanging shape.
If you're making several gifts for one household, repeat the tag shape but change the name color or a small symbol. Keep the names legible so the symbol isn't the only way to identify the recipient. The set can feel related without making every package identical.
Choose an Attachment That Opens Easily
Tie tags to ribbon, cord or bag handles rather than taping directly onto the gift itself. If there is no ribbon, a paper band around the package can hold the tag. Secure the band to itself and check that it can slide off without tearing the wrap.
For a tag that needs to stay flat, place it under the band with the name visible. Add a small paper loop on the back only if you need it to stay in position, using an adhesive suitable for the card. Let it dry before testing.
Keep sharp fasteners and loose small decorations out of children's gift wrapping. A paper tag and short soft tie can provide the finish without adding pieces the child might handle as toys. Choose a different attachment if the package will be mailed and the tie could snag.
Keep a Few Blanks Ready
Store a handful of blank rectangles, folded squares and circles with your wrapping supplies. Keep them flat and separate from finished tags so names aren't confused later. A small envelope for each shape makes it easy to see what remains.
Keep a small envelope of strips and corner pieces beside your blank tags, along with a pen you've tested on the card. The next time you wrap a present, you'll have a few lovely details ready to choose from.
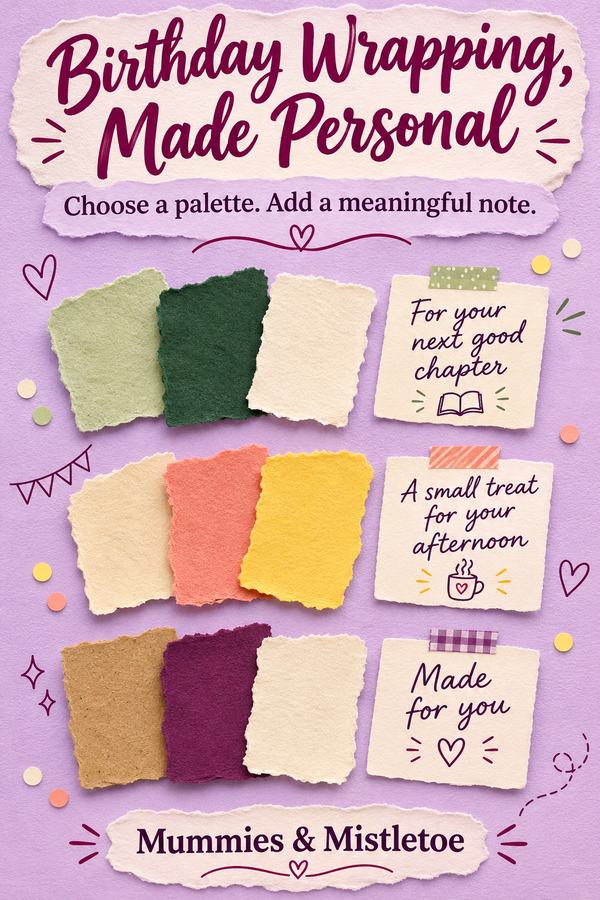
Use the back of a rectangle or the inside of a folded tag for a note only that person could receive: "For your Sunday-morning tea" or "I saw this color and thought of you." A few handwritten words make a simple tag worth keeping.
A little paper star on the tag would suit our pink floral witch-hat journal for a friend who loves a softer Halloween look. Put a note about the stories or plans they might fill it with inside the folded tag.