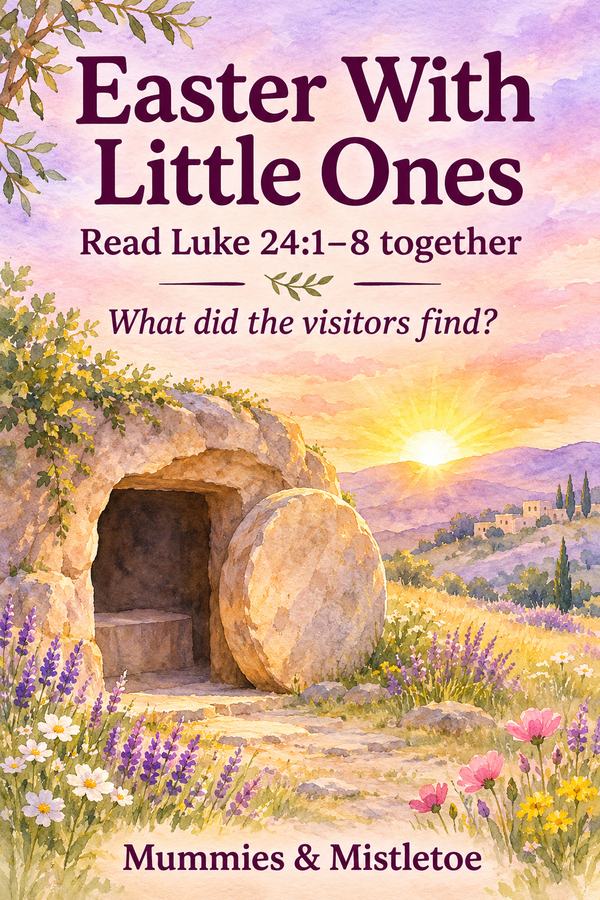
The paper circle slides away, and the dark opening of the tomb is visible underneath. Christian Easter crafts for kids can give children a simple object to handle while an adult reads the Easter story. This paper scene uses a flat backing, a tomb shape and a loose stone that can be moved by hand.
Use the simple paper shapes alongside the Bible reading, letting the child's questions guide the conversation. An adult can prepare the pieces for younger children, while older children can draw and cut their own shapes.
Read the Account Before Making the Scene
Read Luke 24:1-8 together, or read a shorter portion suited to the children's attention and your church's teaching. In this account, the visitors find the stone rolled away and do not find Jesus' body. They are told that he has risen and are reminded of his words.
The World English Bible begins Luke 24:6 with “He isn’t here, but is risen.” You can write that sentence on a separate card with the reference, giving the words enough room to read easily. Use the passage itself when answering questions about what the account says.
Explain unfamiliar words plainly, and allow a child to listen without speaking. You don't need to add dramatic effects or ask children to act out death. The craft focuses on the open tomb and the message of resurrection.
Gather the Paper Pieces
Use a sturdy backing sheet about 9 by 12 inches, a gray or brown paper rectangle about 6 by 5 inches, a dark paper opening and a circle for the stone. You'll also need a pencil, child-safe scissors, a glue stick and crayons. Choose materials appropriate to the children and supervise their use.
Draw the tomb as a broad rounded shape with a flat bottom, using most of the 6-by-5-inch rectangle. Make the dark opening about 2 inches wide and 2½ inches tall, with a rounded top. Cut the stone circle about 3½ inches across so it can cover the opening.
These dimensions are a starting layout for the paper picture. Put the pieces together without glue first and adjust them if the stone doesn't cover the opening. Use large, simple shapes that young children can handle easily.
Build the Flat Scene
Glue the tomb shape near the lower center of the backing sheet, leaving space around it for the child to draw. Glue the dark opening onto the tomb. Press the pieces flat and give the adhesive time to set.
Invite the child to add a ground line, sky or simple marks on the rock. Let the child choose how much to draw before moving on to the story.
Leave the stone circle loose. This version works with the paper circle on its own. The child can place the circle over the opening and move it to the side with a hand, making the action easy to see.
Use the Movable Stone With Careful Words
Place the stone over the opening before beginning a brief retelling, then move it aside when you reach the visitors finding the stone already rolled away. Make that sequence clear so the action doesn't suggest the visitors moved it themselves. The paper simply helps show the change between a covered and an open entrance.
Read the short verse card beside the scene. Ask a concrete question such as “What did the visitors find when they arrived?” Let the child point to the opening or answer in their own words. Return to the text if a detail becomes confusing.
You can repeat the reading once if the child wants another turn with the stone. Finish when the child is ready to move on. An older child may prefer to read the passage aloud while a younger child moves the paper.
Make Space for Questions and Different Ages
A younger child may need only the open tomb, the short verse and a few words from an adult. An older child can compare the craft with the passage, noticing which parts are in the text and which are artistic choices. That distinction helps keep a simple illustration from taking the place of the account.
If a child asks about death, respond honestly and gently in language suited to their age and circumstances. Avoid graphic details, and don't use the story to frighten them. A trusted church leader or caregiver can help with questions you aren't sure how to answer.
For a group, give each child a full set of pieces rather than expecting one shared stone to keep everyone involved. Offer help with reading and cutting as needed. Children can make different-looking scenes while hearing the same passage.
Keep the Scene With the Reading Card
When the glue is dry, place the verse card beside the picture and keep the loose stone in an envelope attached to the back or stored with it. An adult can label the envelope so the pieces stay together. Don't glue the stone permanently over the opening if the child wants to use it again.
Set the scene on a shelf or table where the family can look at it during Easter. If you'd like to pray together, use a short prayer in your own words, thanking God for the hope of the resurrection. Children can join in with a few words or simply listen.
Leave the paper stone beside the opening when the picture is displayed. Keep the Bible reference close enough that someone can return to the account and read it again.
To carry the resurrection message from the paper scene to the front entrance, our He Is Risen flag offers a larger outdoor focal point. Choose the size for your own stand or pole and let the children's handmade scene keep its place indoors.