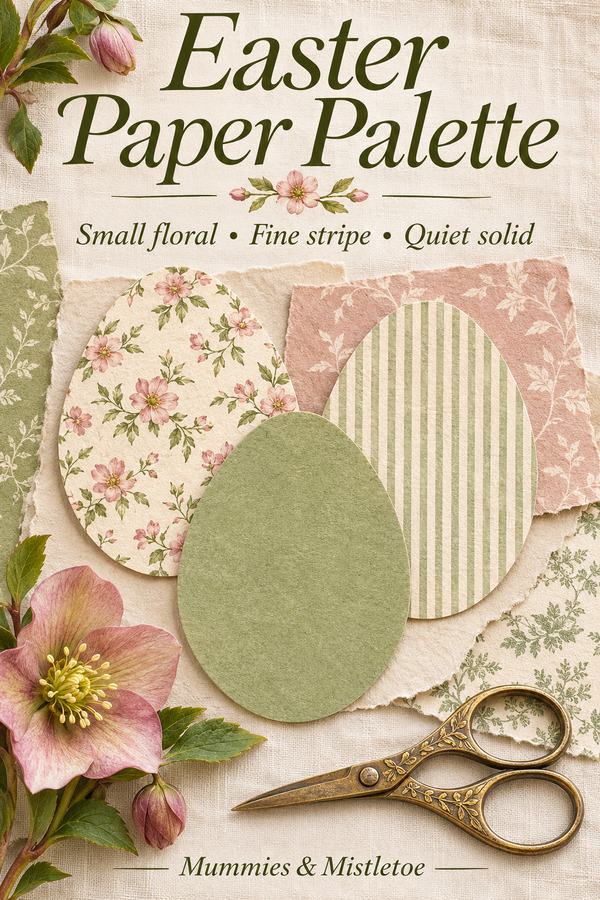
The scraps of patterned paper are too pretty to throw away, but too small to wrap anything. These Easter crafts for adults turn a few of them into three layered paper eggs for a shadow-box frame. The finished piece has a little depth, with folded paper catching the light above a plain backing.
Use one color family so the shapes remain the focus. Cream, soft green and a small amount of pale pink can work together, or you can choose three quieter variations of a single color. Keep the project on a table until the glue has dried and the frame fit is checked.
Gather Paper for Easter Crafts for Adults
For the example layout, use a shadow-box frame with a backing area that measures 8 by 10 inches. Check the usable area inside your frame; the size printed on the package may describe a photograph opening rather than every part of the interior. Adjust the backing to fit that space.
Gather plain cardstock for the background, medium-weight patterned paper, scrap cardstock for a template, pencil, ruler, scissors and paper adhesive. Use colors and patterns you already enjoy together. Very thick card can be harder to fold neatly for the raised layers.
Choose a frame with enough space between the backing and glazing for the paper relief. You will test the folded paper before completing all three eggs. The glazing should close without pressing the raised edges flat.
Make One Egg Template
Draw a rectangle 2 inches wide and 3 inches tall on scrap cardstock. Mark the halfway point across the top and bottom. Sketch an egg inside the rectangle, with a narrower rounded top and a fuller rounded lower half.
Fold the scrap gently along its vertical center line. Cut through both layers along one side of the outline, then open it to reveal a symmetrical egg. Smooth the fold and use this single template for all the paper pieces.
Trace the template once on plain paper to check the shape. If it looks too pointed, round the top before tracing the remaining eggs. The three finished decorations will look more related when they share the same outline.
Cut the Flat and Folded Layers
Cut three flat eggs for the bases, one for each position in the frame. Then cut six more eggs from your patterned papers. Each finished egg will have a flat base and two folded pieces above it.
Fold each of the six patterned eggs vertically through the center, with the pattern facing inward while you make the crease. Open each one partway. The center crease will become its attachment line, while the two sides remain slightly raised.
Try one folded piece over a flat base. Align the top, bottom and center crease. Open the sides enough to show the pattern without making a tall ridge. Set it inside the empty frame briefly to check that the raised paper clears the glass.
Mark a Balanced Three-Egg Layout
Place the 8-by-10-inch backing in landscape orientation, so it is 10 inches wide and 8 inches high. For this layout, mark three center points at 2, 5 and 8 inches from the left edge, all 4 inches down from the top. Each egg will sit centered on one of those points.
The 2-inch-wide eggs then have a 1-inch gap between them and a 1-inch margin at each outer side. Their 3-inch height leaves 2.5 inches above and below. Mark lightly with pencil so the marks can be covered or erased.
Set the three flat bases on the backing without glue. Check the arrangement through the frame opening, since a broad frame edge may hide some of the backing. Shift the group slightly if needed, keeping the gaps between the eggs equal.
Attach the Paper in Stages
Glue the flat bases to the backing, keeping them aligned with your layout. Use the amount and drying time recommended for your adhesive. Let the backing lie flat while those pieces set.
For each raised layer, apply a narrow line of adhesive along the outside of its center fold. Place that fold on the center of the flat base and hold it as the adhesive requires. Leave the side portions free so they can lift away from the backing.
Add the second folded piece along the same center line after the first attachment is secure. Open the visible sides gently into a shallow fan. Work on one egg at a time and stop to check the frame depth before making the remaining layers more pronounced.
Use Pattern to Give Each Egg Its Own Character
Try one small floral, one narrow stripe and one nearly plain paper. Repeat a shared background color so the differences feel intentional. If every paper has a large motif, the small egg shape may cut away the parts you liked most.
Place the strongest pattern in the middle egg and quieter papers at the sides, or use the same paper on all three bases with different folded layers. Rotate a scrap before tracing if that lets a small flower or leaf fall within the outline.
Keep added decoration limited to the paper itself. The folds already provide the depth. A plain backing gives the edges and patterns enough space to be seen from across the room.
Frame and Store the Finished Piece
Let all attachments dry before lifting the backing upright. Check that no folded layer slides or pulls away. Place it in the frame and close the back only when the glazing clears the paper without pressing it.
Stand the frame where the paper shapes catch soft light from the side. A shelf beside a spring textile or a small arrangement can give it a place without crowding the relief. Keep the display away from splashes and follow the frame's care instructions.
When the season ends, store the finished piece with its raised paper protected inside the frame. Keep the egg template in an envelope behind the storage label, ready for another set of papers.
For an Easter accent outside the house, the Easter collection at Mummies & Mistletoe offers a faith-centered flag. That leaves the layered paper egg as the personal handmade piece for the shelf or wall indoors.