The doorbell rings while the vegetables are still cooking, and someone arrives carrying a covered dish with both hands. A kitchen decorated only for the photograph can run out of useful space at exactly that moment.
Easter kitchen decor can help the meal along instead. Give arriving food somewhere to land, make one serving spot easy to understand, and put the seasonal details on pieces that already have a job. The room can look welcoming while you still have somewhere to set down a casserole.
Begin with the way the food will reach the table
Decide whether everyone will serve themselves, pass dishes at the table, or collect only a few things from the kitchen. That choice tells you where the decoration belongs. A buffet needs a clear serving surface; a family-style meal may need only a small guest-facing corner for drinks or dessert.
Walk the route from the refrigerator and cooking area to that surface. Keep people collecting plates away from the place where you need to handle hot dishes. If the kitchen is too small for both jobs, move the guest pickup point to another nearby table with enough room.
Leave the working counter and any surface needed for safely handling hot cookware out of the decorating plan. Those spaces will be busy even if they look empty before the guests arrive.
Give arriving dishes a temporary home
Choose a clear landing place for food people bring, then tell the first arrivals where it is. Set out heat-resistant trivets if a hot dish may arrive. Keep that space separate from the finished buffet so you can check what needs serving, chilling, or reheating before placing it out.
Keep a pen and a few small cards nearby. Write the contributor's name and the dish name on a card that stays with the container. It makes returning a favorite serving spoon or lid much easier later.
Ask the person who made the dish for ingredient and storage information when needed. The temporary landing spot is a place to organize the arrival, not to leave food indefinitely while the rest of the room gets ready.
Build the guest-facing spot around the plates
Set out the plates first, then arrange the serving dishes in the order people will use them. Keep serving utensils beside the food they belong to. Place napkins and cutlery where guests can pick them up without balancing everything at the start.
Try the route yourself with an empty plate. If you need to reach over a centerpiece, turn around with your elbows out, or cross behind the cook, change the layout. A smaller display in a sensible place is more useful than a beautiful obstacle.
For a seated meal, you may only need a sideboard for bread and drinks. Don't create a buffet just because a photograph showed one. Let the meal decide how many serving areas you need.
Put the Easter kitchen decor on useful pieces
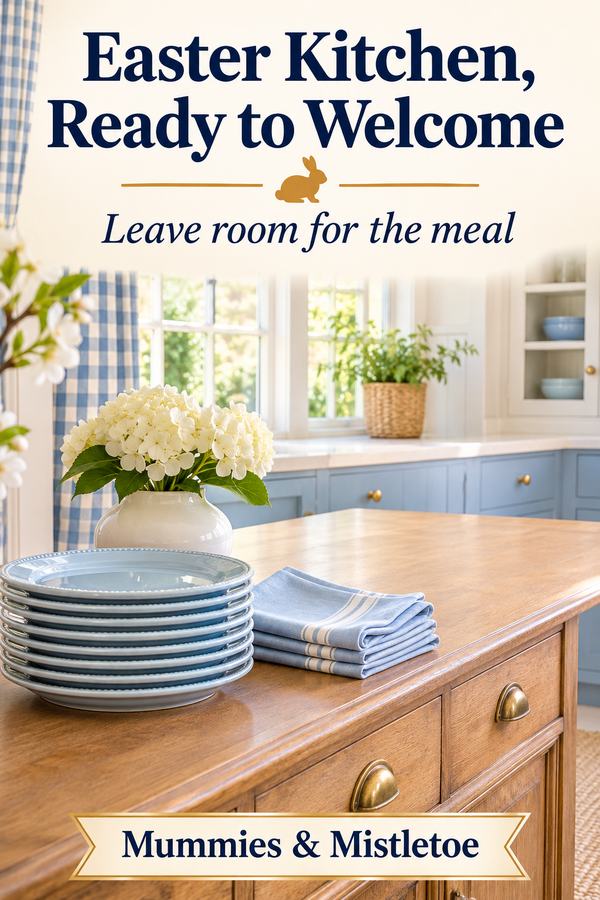
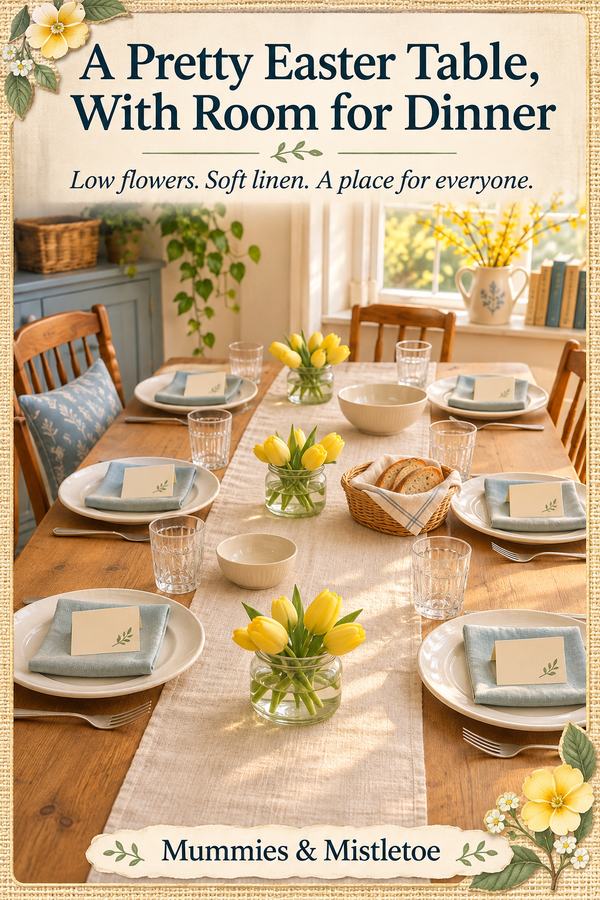
Choose one seasonal color and repeat it in the napkins, a serving cloth, or the small cards naming the dishes. A pale blue detail with white plates can feel fresh without adding a rabbit to every corner. Yellow works well when you already have warm wood and cream pottery.
Use a runner or cloth only where it lies flat and won't interfere with stable dishes or safe handling. It isn't a substitute for the heat protection your cookware and surface require. If fabric would make a narrow counter awkward, keep it on the nearby table instead.
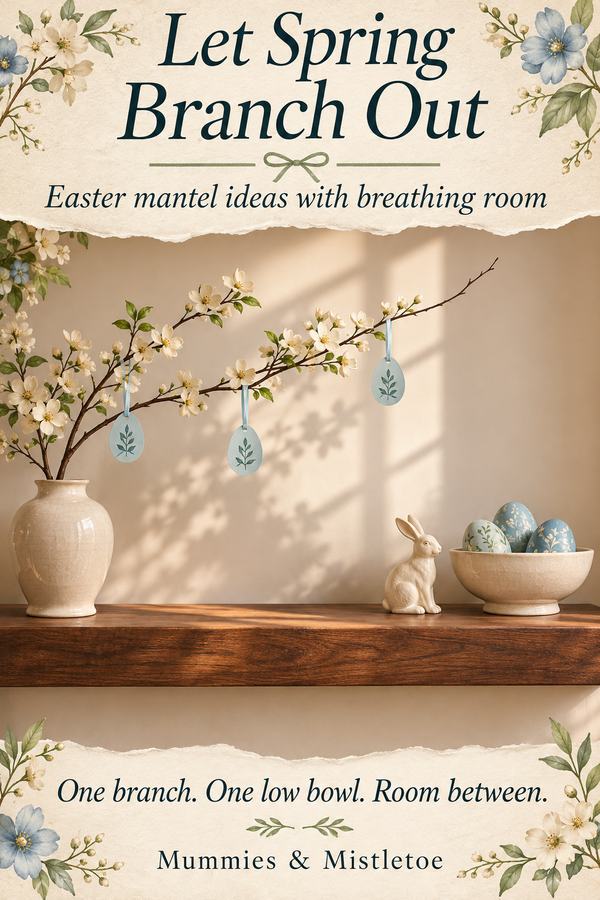
Add one low decoration beyond the serving route: a small arrangement or a decorative egg in a stable holder. Keep it separate from the food and out of the space needed for hands, lids, and utensils. The linen and dishware can carry most of the color.
Make simple labels people can read
A folded card can name the dish without turning the whole meal into a craft project. Use dark writing on light paper and keep decorative marks away from the words. Place each card where it can be read before someone lifts the serving spoon.
Write only information you have checked. A dish name such as “Lemon cake” is straightforward; a dietary claim needs more than a guess from looking at it. For a shared meal, ask the cook rather than deciding what must be in the recipe.
Keep ingredient information available in a separate note or on the original packaging when appropriate. Guests with dietary needs can then ask a useful question without relying on a tiny decorative sign to explain everything.
Plan the refill and the return
Keep spare napkins, clean utensils, and replacement serving supplies in one accessible place away from the cooking route. Decide who will replenish them so the person finishing the meal doesn't have to notice every empty stack.
When a serving dish needs attention, refresh or remove it as the meal progresses. Follow the relevant food-safety guidance for holding, chilling, and reheating. Decoration should never make it difficult to move food when it needs to move.
After the meal, use a separate spot for empty containers and their matching lids. Put the name cards back with borrowed pieces. This keeps the return pile from spreading across the clean serving area.
Clear the seasonal layer before the next meal
Once everything is put away, remove the labels and the one Easter decoration. Launder the fabric according to its care instructions, then return the everyday kitchen pieces to their usual places.
Keep a quick photograph of the serving layout if it worked well. Add a note about where the arriving dishes landed and what you would change next time. The most useful thing to repeat may be the empty space you protected, not the ornament you chose.
By the next breakfast, the kitchen can be ready for ordinary toast and a cup of tea. The holiday details did their work, and the room is yours to use again.
For other holiday meals, browse the table linens at Mummies & Mistletoe with the serving plan you've just tested. Choose a piece that works with your actual dishes and clear counter space, so the kitchen stays easy to use.