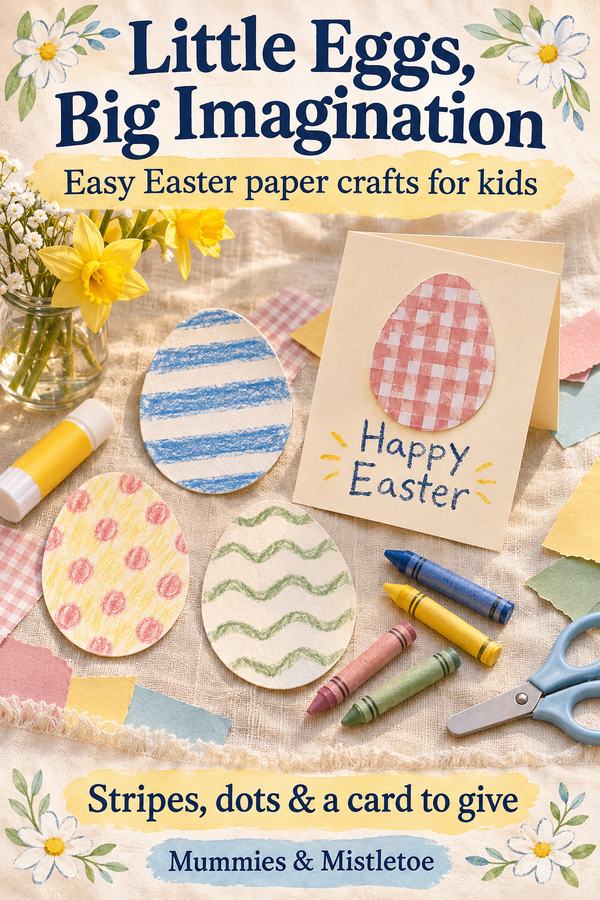
The plain craft eggs are waiting in a bowl, and the paper scraps beside them already suggest a color scheme. Egg decorating ideas don't have to involve dye. Tape bands, small paper flowers and drawn patterns give you three different surfaces to try without preparing a dye bath.
Use decorative craft blanks for these methods, not eggs you plan to eat. Choose a material that works with your paint, markers or adhesive according to the product directions. Make one sample first, because a smooth plastic egg and an unfinished wood egg may take the same material differently.
Choose the Egg Blanks and a Palette
Gather a few lightweight craft eggs in a size you can hold comfortably. Read their preparation instructions before applying anything; some surfaces may need cleaning or a suitable base coat. Let any required coating dry fully before beginning the decoration.
Choose three or four colors that can repeat across the set. Cream, pale blue and green make a gentle combination, while cream, rose and warm brown give a different effect. The patterns can vary as long as one or two colors connect them.
Prepare a place for wet eggs to rest without touching one another. A suitable egg holder or a clean craft support can help, but test that the egg sits securely before adding wet paint or glue. Protect the table and follow the materials' ventilation and age guidance.
Make Narrow Tape Bands
Choose thin decorative paper tape and test a short piece on one blank. A narrow strip is easier to fit around a curved surface than a wide one. Try a band around the widest part of the egg, pressing gradually rather than stretching the tape.
Where the ends meet, trim them to a neat overlap. If the tape wrinkles badly, use shorter sections arranged as separate stripes instead of forcing one continuous band. You can make three short bands that stop before the back, leaving plain space between them.
For a second egg, run several short tape pieces from near the top toward the middle, like rays. Keep their lower ends at slightly different heights or align them if you prefer a more regular pattern. The two eggs will belong together through the tape color without needing the same design.
Add Small Paper-Petal Flowers
Cut several small petal shapes from lightweight colored paper. Make a simple flower with four or five petals arranged around a tiny paper center, keeping the pieces small enough to follow the egg's curve. Assemble the first flower on the table to check its size before attaching it.
Apply a small amount of adhesive suited to the blank and paper, following its directions. Press the petals onto the egg one at a time, overlapping their inner ends. Add the center last and leave the egg on its support while the glue dries.
Begin with two or three flowers on one side. Small green paper leaves can fill a gap if you want them. Keep the finished eggs away from young children who may pull off and mouth the small pieces.
Draw Dots, Leaves or a Simple Lattice
Test the chosen pen or marker on the material before drawing the main pattern. Use a product intended for that surface and let the test dry so you can see whether it smears. Pencil guidelines may help on some blanks, but check that they can be covered or removed without damaging the finish.
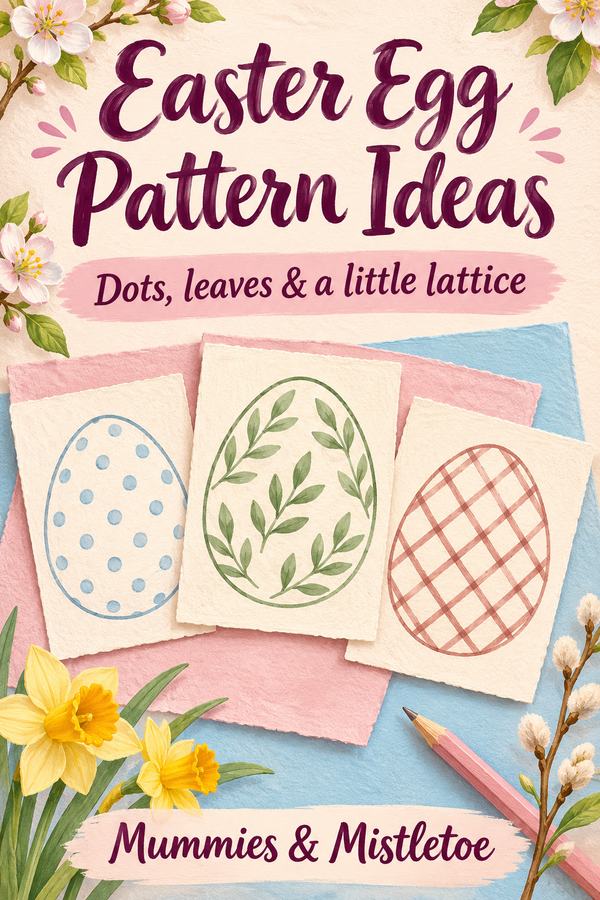
For a dotted egg, begin with a loose line of dots around the widest part and add another row above and below. For a leaf pattern, draw short curved stems with small leaves on either side. Leave enough plain space that each mark can be seen.
For a lattice effect, draw several diagonal lines in one direction, then cross them with lines in the other. The curves of the egg will make the spacing imperfect, which can be part of the handmade look. Turn the egg slowly as you work and allow each wet section to dry before resting it against the support.
Build a Set Without Making Every Egg Match
Choose one method as the main pattern and use the others as accents. A set of six might include three taped eggs, two drawn eggs and one paper-flower egg. Repeat the same blue or green across all six so the different textures feel related.
Put the eggs together before adding more decoration. If one looks much busier than the others, give its neighbors simpler patterns. A plain egg in the chosen color can also give the set a place to pause.
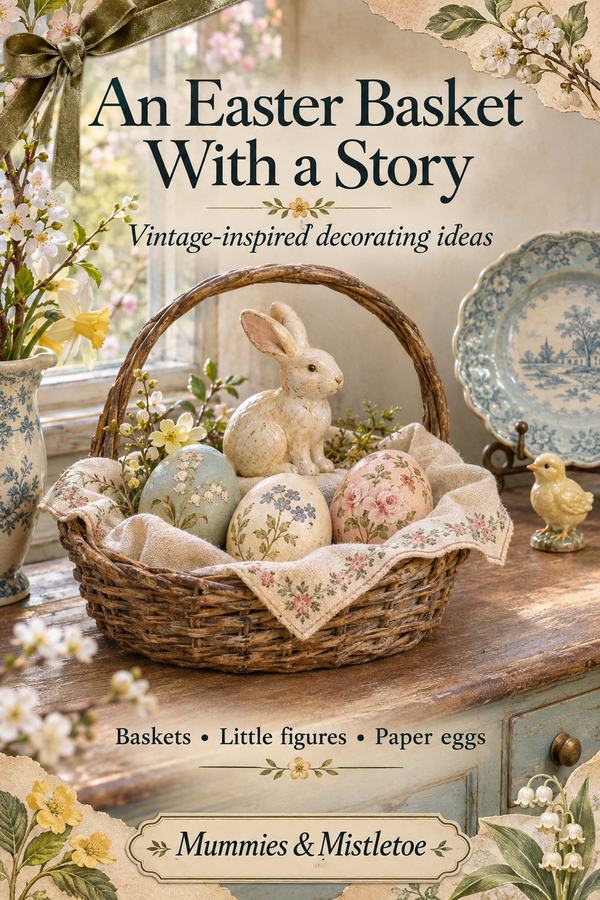
A small decorative tray or bowl can hold the set on a sideboard. Keep it separate from food preparation and use it only for decoration. You can place a folded seasonal cloth beneath the vessel if it sits steadily, letting the textile repeat one of the egg colors.
Let the Finish Dry Before Arranging
Follow the drying and curing directions for every material used. A surface that feels dry may still mark or stick if packed too soon. Don't add a sealer unless it is appropriate for the blank and the other materials, and follow its instructions if you do.
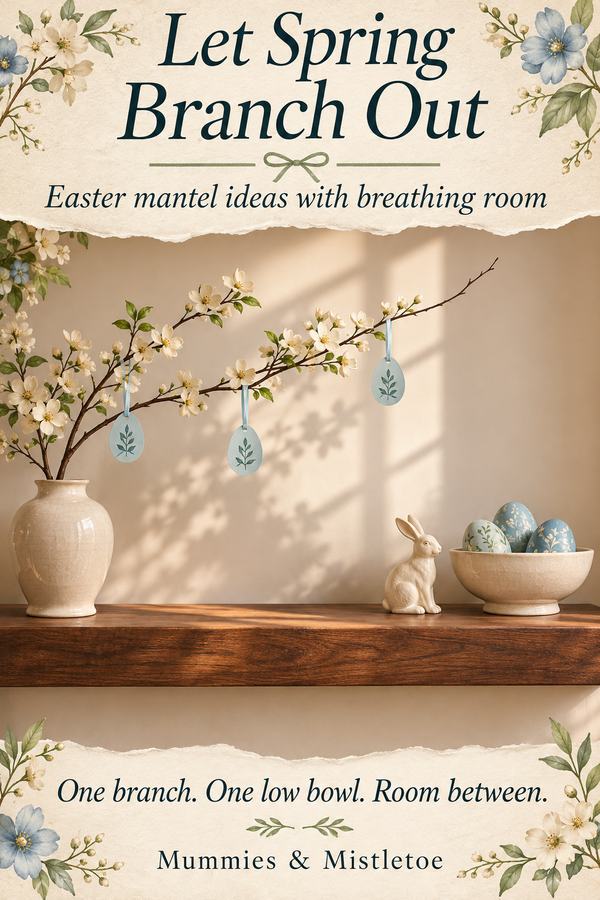
Arrange the finished eggs in a shallow container where they won't roll off a shelf. If the blanks have hanging loops, use them only as intended and check their attachment before suspending the eggs. Keep paper-covered pieces indoors or in conditions their materials can tolerate.
Keep the tape and pen names with your unused blanks, along with a quick note of what adhered well. You'll have a tested starting point when you want to add another blue-and-green egg to the set.
If you're building an Easter welcome beyond the decorated eggs, explore the Easter collection at Mummies & Mistletoe. Keep the handmade patterns as your indoor detail and choose any outdoor piece for the entrance you have.