The sewing basket comes out, and suddenly the dining table has room for a small pile of pink felt. Felt Valentine crafts are a pleasant project for an evening when you'd like to make something with your hands. This garland uses seven flat, double-layer hearts, a simple running stitch and little hanging loops, so you can make each heart separately before arranging the whole string.
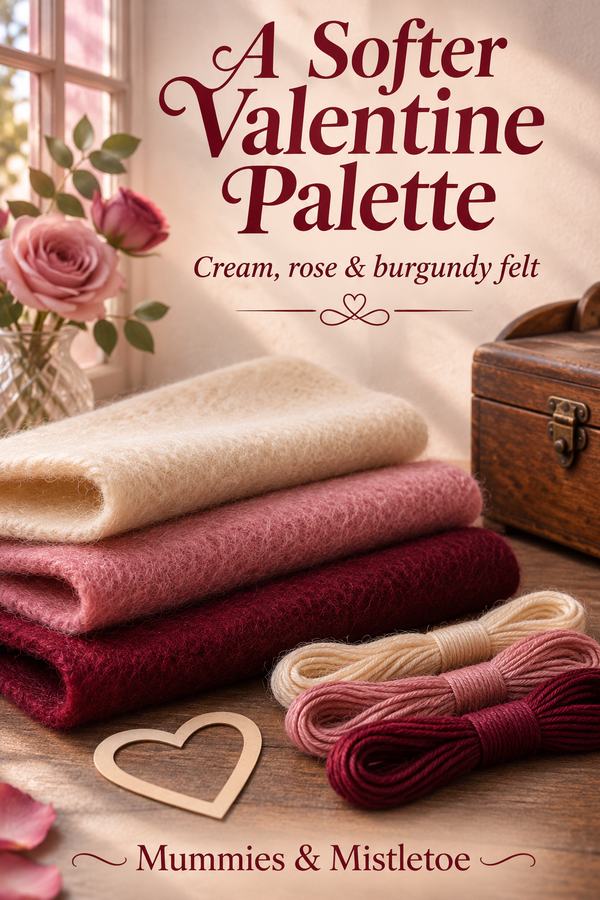
Choose cream, rose and burgundy for a soft-looking set, or use scraps in several shades of red. The visible stitching gives the hearts their detail. You won't need buttons, beads or stuffing.
Gather Enough Felt for Seven Hearts
For the sample garland, gather three felt sheets measuring at least 9 by 12 inches, embroidery floss, a hand-sewing needle suited to your felt, scissors, paper, a pencil, a ruler and about 72 inches of narrow ribbon or strong cord. You'll also need seven 3-inch lengths of narrow ribbon for the hanging loops. If you want matching loops, allow another 21 inches of ribbon beyond the main length.
Each finished heart measures roughly 3 inches wide and 3 inches tall. Two felt shapes make one heart, so cut fourteen shapes in total. A 9-by-12-inch sheet can accommodate a grid of twelve 3-inch squares; you need only a few shapes from each color.
This is a needlework project for adults or older children who can handle a needle with direct supervision. Keep the needle in a pincushion whenever you pause, and store the finished cord out of young children's reach.
Draw One Pattern and Cut Matching Pairs
Fold a piece of paper in half vertically. On the folded piece, draw half a heart inside a space 1½ inches wide and 3 inches tall, with the center notch and bottom point touching the fold. Cut along the curved outer line, open the paper and smooth it flat.
A broad top and a slightly rounded point are easier to stitch than a deep notch and a sharp tip. Lay the pattern over your felt and cut one shape at a time, or cut through two layers if your scissors can do that neatly. Stack each pair together immediately.
For the seven-heart color order, try burgundy, cream, rose, cream, rose, cream, burgundy. Make three cream pairs, two rose pairs and two burgundy pairs. Put the pairs in that order on the table before sewing, so you can see the balance without committing to the arrangement.
Join the Layers With Running Stitch
Cut an arm's-length piece of embroidery floss and separate out two strands. Thread the needle and knot the end. Place two matching hearts together, then hide the knot between the layers near one upper curve.
Bring the needle through both layers about ⅛ inch from the edge. Make a small stitch forward, bring the needle through to the back, then bring it forward again after a similar gap. Continue around the heart with stitches about ⅛ inch long, letting the stitch length change a little around the curves.
Use cream floss on burgundy and rose, and rose floss on cream. A little contrast makes the hand stitching visible from across the room. If the thread tangles, stop and let the needle dangle briefly while you hold the felt, then gently work out the twist rather than pulling the knot into the seam.
Add the Loop Before Closing the Heart
Fold one 3-inch ribbon piece in half. When you reach the center notch at the top, slip both cut ends about ½ inch between the felt layers, leaving the folded loop above the heart. Stitch through the felt and both ribbon ends several times to secure them.
Continue around the remaining edge. These hearts stay flat, so you can close the seam without leaving an opening for filling. To finish, take a small stitch through the back layer, pass the needle through the thread loop and pull gently to form a knot; repeat, then trim the tail.
Check the first heart before sewing the other six. Give its loop a gentle tug, flatten the layers and see whether the stitching is holding both edges. If a section has missed the back layer, undo that short section and resew it now.
Arrange the Garland Before Tying It Up
Thread the main ribbon through all seven loops. Spread the hearts across the middle 48 inches, leaving about 12 inches free at each end for tying. With seven 3-inch hearts, that gives you room to adjust the spaces instead of crowding the shapes together.
Lay the ribbon on a table and arrange the center heart first, then work outward in pairs. If the hearts slide too freely, make a loose knot in the main ribbon at each loop to hold the position. Check the spacing again before tightening those knots.
Hang the garland across a cabinet front or a shelf where it won't brush dishes as you open the doors. Use fixing points appropriate for the surface and the garland's weight. Keep it away from heat and out of children's reach, especially around beds or cribs.
Make a Smaller Set From the Same Pattern
For a short shelf, use five hearts and shorten the main ribbon after you've checked the fit. For a gift, sew one heart in the recipient's favorite color and use its loop to attach it to a wrapped parcel. Add your message on a paper tag tied to the loop.
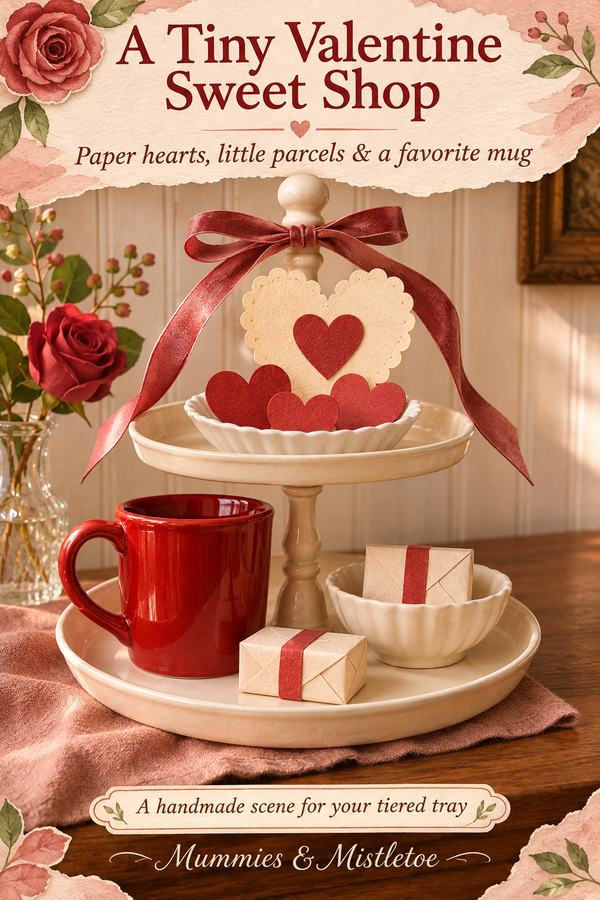
On a shelf, stand a seasonal art card behind one end of the garland and repeat a color from the stitching. A rose-colored illustration with cream hearts is enough to tie the pieces together.
Slip the paper pattern into an envelope with the felt scraps and a note of the colors you used. When the garland comes down, store it loosely so the hearts keep their shape; next February, it can go straight back onto the shelf.
A single felt heart makes a soft finishing touch for a notebook gift. For someone who loves pink and witchy florals, pair it with our Floral Witch Hat journal and choose the heart color from its cover.