Turn a Valentine's tiered tray into a tiny shopfront. Red pottery and wrapped parcels make a sweet shop; little envelopes become a Valentine post office; paper cones and flowers suggest a neighborhood flower stall. Choose the scene you would most enjoy making.
Set your miniature scene on a sideboard or shelf. Each version combines paper details with pottery and small pieces you may already own, with measurements to help the handmade parts fit together.
Check the Space Between the Tiers
Measure the usable width of each tier and the open height between them. A 5-inch-tall card won't fit in a 4-inch gap, however much you like it. Cut a scrap-paper rectangle to the size of your largest proposed piece and try it in place.
For these layouts, picture a two-tier tray with a lower tier at least 10 inches across and about 6 inches of open height. Scale the paper pieces down for a smaller tray, or place the tallest element beside it. Keep heavier pottery on the lower tier and stay within the tray's load limit.
Place the tray where you want to display it before arranging the objects. A wall behind it lets you build a scene that faces forward. On a table visible from every side, turn the backs of cards inward toward the center post.
Build a Red-and-Cream Sweet Shop
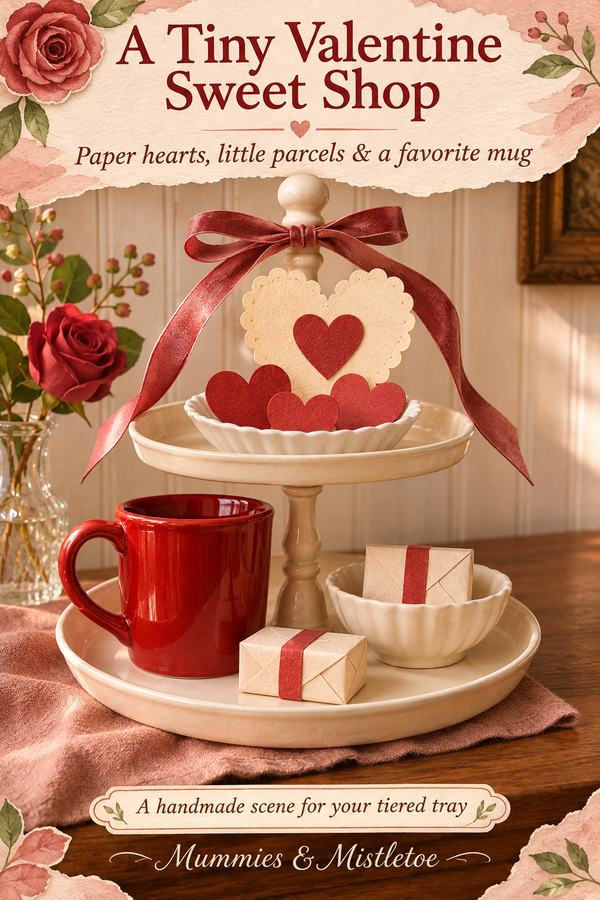
Gather one red mug, a small cream bowl, a shallow white dish, two empty small cardboard boxes and scraps of cream and red paper. Choose boxes roughly 2 inches across. They will become decorative parcels, not food containers.
1. Put the red mug at the back left of the lower tier and the cream bowl toward the right. Leave a visible strip of tray between them.
2. Wrap the empty boxes in cream paper. Add a narrow red paper band around each and secure it underneath with tape.
3. Place one parcel in the cream bowl and the other in front of it, with their bands facing different directions.
4. Set the white dish on the upper tier. Add one large scalloped paper heart behind it, held upright in a small card holder.
5. Cut three 1½-inch red paper hearts and lay them together in the dish like a little stack of bakery labels.
The parcels, scalloped paper and red pottery do the storytelling. Turn the little packages at different angles, as if someone has just arranged the shop window.
Cut the Scalloped Shop Heart
Start with a 5-by-6-inch cream cardstock rectangle and a 4-by-5-inch red one. Fold the cream rectangle lengthwise, draw half a heart against the fold and cut it out. Repeat with the red paper, making its heart about ¾ inch smaller overall.
Draw shallow rounded bumps around the cream heart's edge, then cut along that line. Aim for broad scallops you can see from across the room rather than tiny cuts. Glue the red heart onto the cream one, leaving the border visible.
If your upper tier is too short, use a 4-inch cream heart and a smaller red center. Check the dry layers in the card holder before adding glue. A narrow cream ribbon tied to the holder is enough of a finishing detail.
Arrange a Little Valentine Post Office
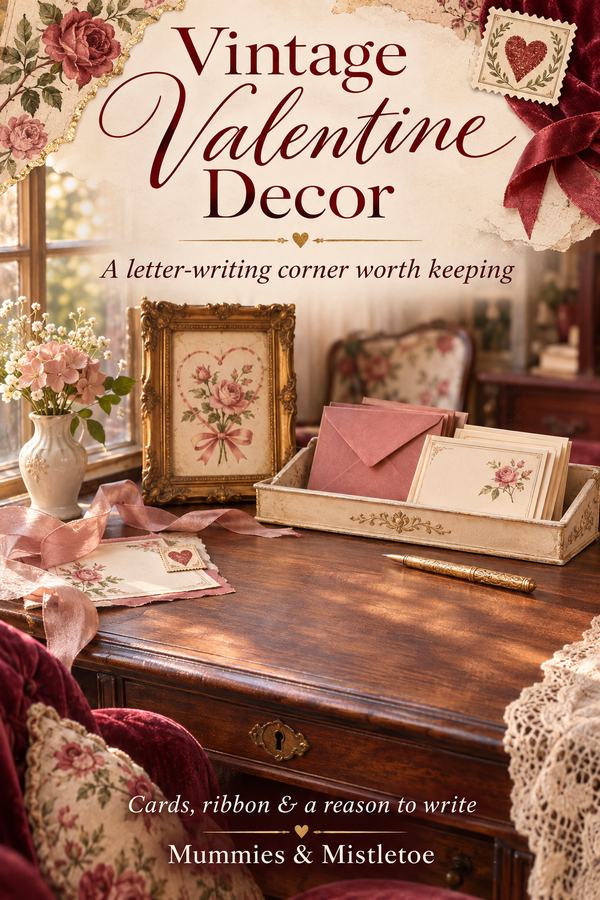
For a quieter alternative, gather cream and rose cardstock, three small envelopes, a 4-by-6-inch frame and a shallow dish. Leave the red mug and parcels out of this version. Its main feature is a collection of notes.
1. Cut a 4-by-6-inch piece of cream card for the frame. Draw one rose heart about 2 inches tall in its center, then frame it.
2. Fold three 3-by-4-inch paper rectangles in half to make small notes. Write a short message inside each and put them in envelopes that fit.
3. Add a paper heart to each envelope flap. Use removable adhesive if you want the notes to be opened.
4. Stand the frame on the lower tier with one envelope leaning against its side. Put the other two envelopes in the shallow dish on the upper tier.
5. Loop a narrow ribbon loosely around the stacked envelopes, leaving the knot simple enough to undo.
Use messages meant for the people in your home: an invitation to take a walk, a thank-you for making dinner, or a memory of a shared afternoon. The notes give this display something to offer beyond its appearance.
Make a Miniature Flower Stall
For this version, use two short decorative vessels, three artificial flower stems, a small basket and two 4-inch squares of brown paper. Choose rose, cream or burgundy flowers, keeping their heads small enough for the tray.
1. Shorten or bend the stems to suit the vessels, following their construction. Keep any cut wire ends enclosed and out of reach.
2. Put the taller vessel and two flowers on the lower tier. Turn one flower slightly outward so both heads remain visible.
3. Place the shorter vessel and remaining flower above, on the opposite side.
4. Roll each brown paper square into a loose cone and tape the overlap at the back. Set the cones in the basket on the lower tier.
5. Tie a rose ribbon around one cone. Add a small folded card with a hand-drawn heart beside the basket.
The empty cones suggest bouquets ready to wrap. Give the empty cones a little space beside the flowers. If your basket is too wide, place it beside the tray and let the lower flower vessel stand alone.
Finish the Scene You Chose
For the sweet shop, repeat red in the mug, parcels and heart. For the post office, let the envelopes and handwriting carry the detail. For the flower stall, keep the pottery plain so the flowers and brown paper stay easy to distinguish.
Look at the display from your usual seat, not only from directly above. Move any hidden heart or flower forward and remove a piece if it blocks the main scene. Keep paper dry and away from candles or heat.
If you choose the post office, leave a fresh note in it during Valentine's week. A tiny shop can become a lovely place to find a thank-you.
For another version of the tray, explore the mugs at Mummies & Mistletoe and let a favorite illustration suggest a new little scene. Check the cup against the lower-tier space before planning the paper details around it.