A valentine has slipped out of a box of old papers, with a scalloped border and a message on the back. Vintage Valentine's decor can give a card like that a place in the room without turning it into craft material. Begin with one keepsake or a reproduction, then choose an arrangement that lets its details be seen.
The three displays here have different jobs: a postcard gallery for looking, a letter-writing corner for using and a keepsake tray for a few personal objects. They rely on paper, glass, textiles and worn wood rather than a collection of new heart ornaments.
Let One Keepsake Lead
Gather three to five paper pieces for a gallery, or one main piece for a smaller arrangement. A family card, your own drawing or a purchased reproduction can be the starting point. Look for a border, handwritten name or little illustration that you would enjoy seeing every day.
Pair the paper with one plain material: white glass, cream pottery or wood. Then add a textile only if it helps the picture stand out. A floral card often looks better beside plain fabric than beside another floral pattern.
Protect fragile originals from direct sun, moisture, heat and unsuitable adhesives. Use an appropriate sleeve or frame, and seek conservation guidance for valuable pieces. A copy can do the decorating while the original remains in suitable storage.
Arrange a Small Postcard Gallery
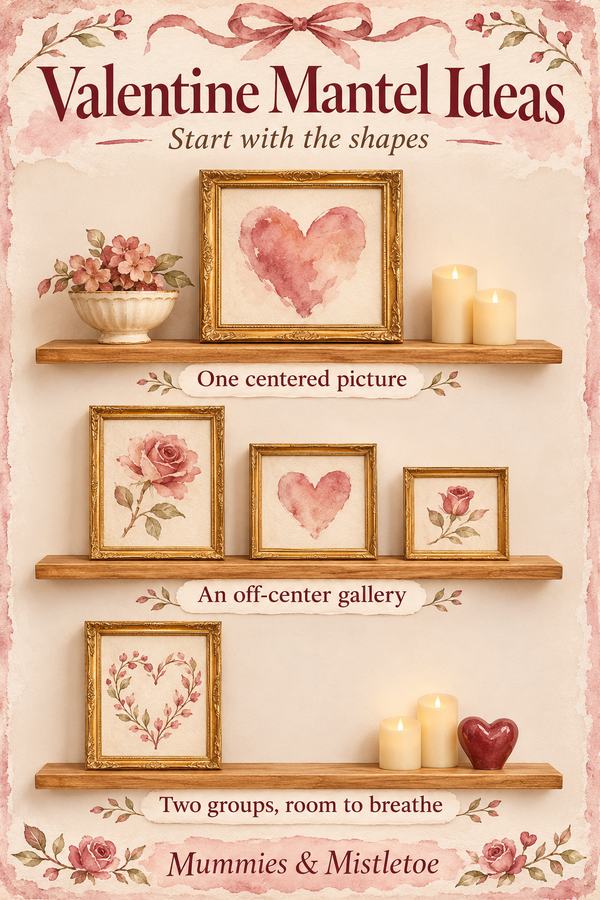
Choose three cards with something in common, such as red lettering, pink flowers or cream backgrounds. Put them in simple frames or secure freestanding holders. Vary their sizes so the tallest sits near one end and the shortest near the other.
On a dresser or sideboard, leave about a hand's width between the frames as a starting point. Add one plain white vessel beside the tallest frame. Stand at the doorway and adjust the spacing until each illustration has an outline of its own.
If the cards have very different colors, use matching cream backings to connect them. If their colors already agree, the frames can differ. To enjoy the front and handwritten back together, frame two copies side by side.
Set Up a Letter-Writing Corner
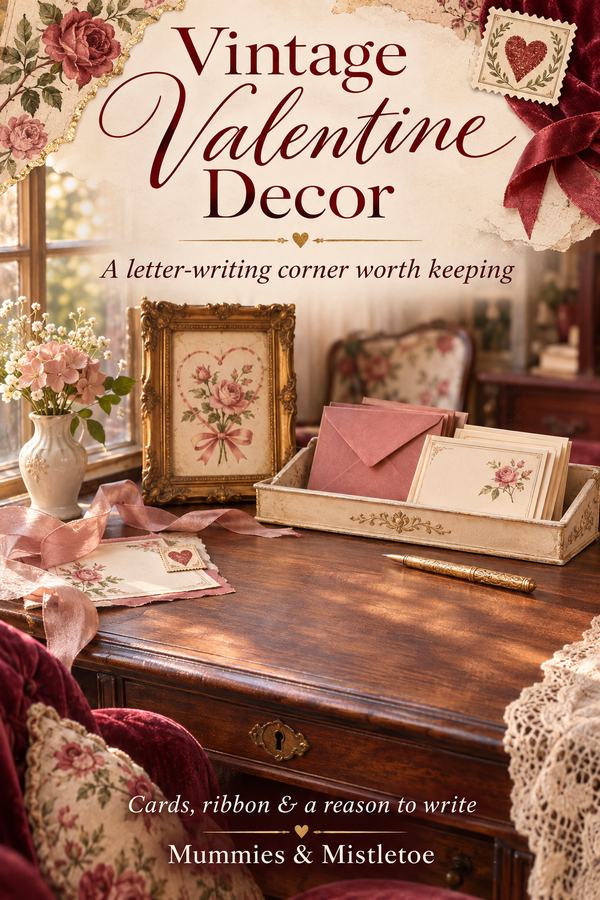
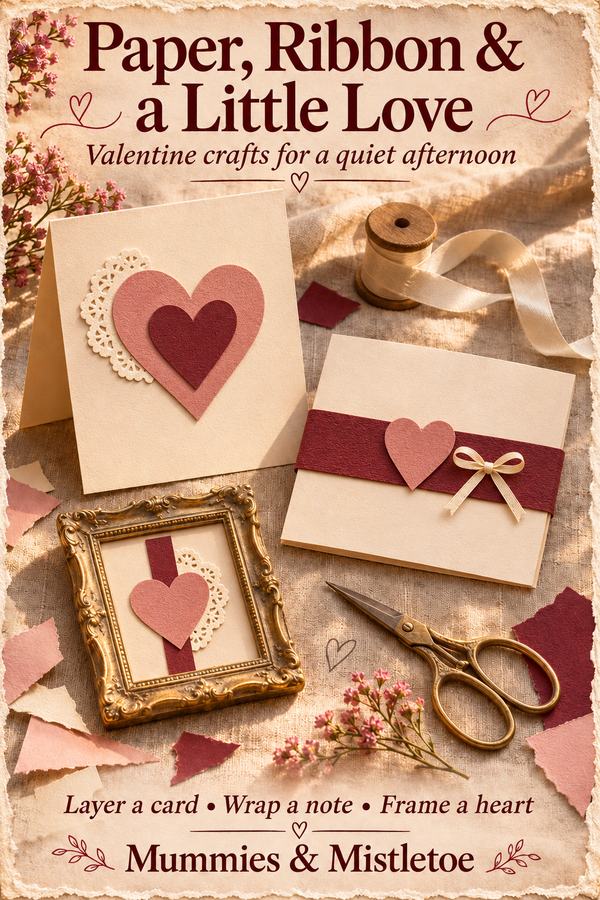
Use a small tray for blank note cards, envelopes and a pen, with one framed valentine behind it. Place the paper supplies flat so they are easy to take out. A short white vase can sit beside the tray, away from the writing surface.
Choose one color from the displayed card for the envelopes or a narrow ribbon around the unused stack. The ribbon comes off when you write, so tie a simple loop that slips off easily. Put a few loose sheets nearby for a first draft of a longer note.
Leave a finished example on top with a simple message of your own, such as 'Thinking of our afternoon together.' The display now offers a next step. Someone can sit down and write a note of their own.
Build a Personal Keepsake Tray
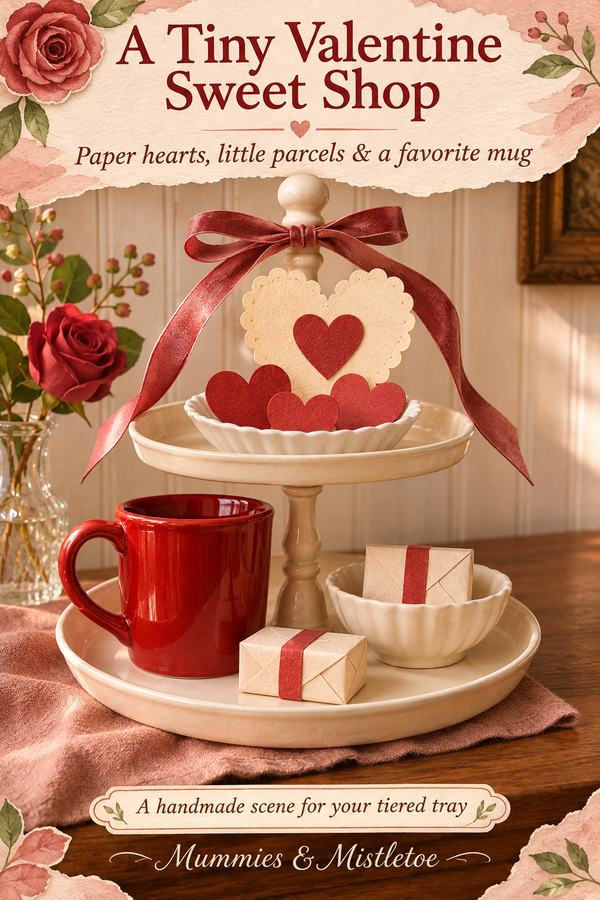
Choose a shallow tray, one protected card or copy, and two small objects connected to the person or memory. A photograph, a decorative button card or a piece of ribbon might belong together. Keep valuable, sharp or small hazardous items protected and inaccessible to children and pets.
Stand the card at the back in a secure holder and place the two objects lower in front. Let the tray provide a boundary, with a little space around each piece. If you use a textile, fold it under one corner and leave some of the tray showing.
Write a sentence about the memory and tuck it underneath the tray: who sent the card, where the ribbon came from, or why that small photograph matters. The little story belongs with the objects when you pack them away.
Match the Finish to the Paper
A red-and-cream illustration can take a dark wooden frame and white glass beside it. A faded pink card may suit a lighter frame with brown ribbon. Try the card beside two possible objects before committing to a whole display.
For a more formal arrangement, use a pair of similar frames and a plain glass vessel. For a collected farmhouse look, mix a brown frame with cream pottery and a small checked cloth. Use the condition and usefulness of each object as well as its appearance when choosing it.
Avoid distressing an old painted finish to make it fit. Unknown coatings may need specialist advice before restoration. Newer plain objects can provide the same color or shape without risking an older piece.
Give Each Arrangement the Right Spot
Put the postcard gallery where you can approach it and see the illustrations. A high shelf may be too far away for small printed details. The writing corner belongs beside a usable chair or a surface where you can write.
Place the keepsake tray somewhere protected from spills and frequent handling. It can be smaller than the other displays because its meaning comes from the particular objects. Use one of these arrangements at a time if the room is compact.
Check the view from your favorite chair. Angle a reflective frame slightly if glare hides the card; a nearby shaded spot can show the illustration more clearly than a bright windowsill.
Store the Story With the Pieces
Take a picture of the arrangement for your own reference before putting it away. Keep copies separate from originals, and return fragile paper to suitable storage. Put the note about the keepsake tray with the objects it explains.
Leave the blank cards and pen within reach if you enjoyed using them. The next note can begin at the same small tray, even after the displayed valentine changes.
If this has you thinking about a thoughtful gift for someone who loves keepsakes, explore Mummies & Mistletoe for current designs. Let their favorite colors and interests guide the choice, with your handwritten note providing the personal detail.