A pile of paper scraps gives everyone something to look through while the tea is poured. Galentine's crafts are especially pleasant when the project leaves room for conversation and different tastes. This little accordion book gives each friend a place for drawings, memories and a few words from the people around the table.
The finished book closes to roughly 2¾ by 4¼ inches, small enough to tuck into a drawer or keep beside a favorite photograph. Each person makes a six-panel paper strip with two covers, then chooses whether to fill it privately or invite friends to add a page.
Set the Table for Six Bookmakers
For each person, provide one sheet of 12-by-12-inch scrapbook paper or sturdy drawing paper, two pieces of thin card measuring 2¾ by 4¼ inches and two decorative paper pieces measuring 3¾ by 5¼ inches. You'll also need a paper glue stick, scissors, a ruler, a pencil and writing or drawing pens. Have spare paper for mistakes and extra decorating pieces.
An adult host can cut the cover card ahead of time, especially if it requires a craft knife. Keep knife work away from the shared activity table and use appropriate cutting equipment. At the table itself, scissors and precut pieces are enough.
Put supplies into a few shared dishes or trays, with one clear working space per person. Offer papers in several colors for everyone to choose from. Someone may want red florals while someone else prefers blue checks, and the books can look like their owners.
Cut the Strip From Two Pieces
Cut two strips measuring 4 by 12 inches from the large sheet of paper. Trim one to 4 by 10 inches and the other to 4 by 5½ inches. Keep the offcuts for decorating later.
On the shorter piece, mark a ½-inch joining tab at one short end. Apply adhesive to that tab and glue it behind one short edge of the longer piece, overlapping exactly ½ inch. The finished strip should measure 4 by 15 inches, enough for six panels that are each 2½ inches wide.
Line up the long edges carefully at the join, then press the tab flat. Let the strip dry on a clean surface before folding. If excess adhesive squeezes out, remove it according to the product directions so it doesn't stick the strip to the table.
Make the Accordion Fold
Mark the finished strip at 2½, 5, 7½, 10 and 12½ inches. Fold at each line, alternating forward and backward to make a zigzag. Press each crease with the side of a ruler or your fingers, keeping the edges aligned as you go.
The join sits at the 10-inch fold. Fold gently there and let the adhesive dry fully before handling the book repeatedly. If the paper is too thick to fold neatly, use lighter paper for the strip and save the heavier sheet for the covers.
Close the strip into a stack and check that its six panels line up reasonably well. Small handmade differences are fine, but a fold that wanders far off the mark will make the covers sit unevenly. Correct that fold before decorating anything.
Wrap and Attach the Two Covers
Center one card rectangle on the back of a decorative paper rectangle. Glue it down, then fold the paper edges around the card, pressing them flat on the reverse. Fold the corners into flat little triangles; trim excess paper if necessary, without cutting right up to the card corner.
Repeat for the second cover. Place the folded accordion between them, checking which way you want any patterned paper to face. The covers are slightly larger than the pages, leaving a small border around the closed book.
Glue the outside face of the first panel to the inside of the front cover, and the outside face of the last panel to the inside of the back cover. Keep the book folded while aligning the covers, then open it gently to check that the pages move freely. Let the adhesive dry before adding heavy decoration or passing it around.
Fill the Pages With Specific Little Things
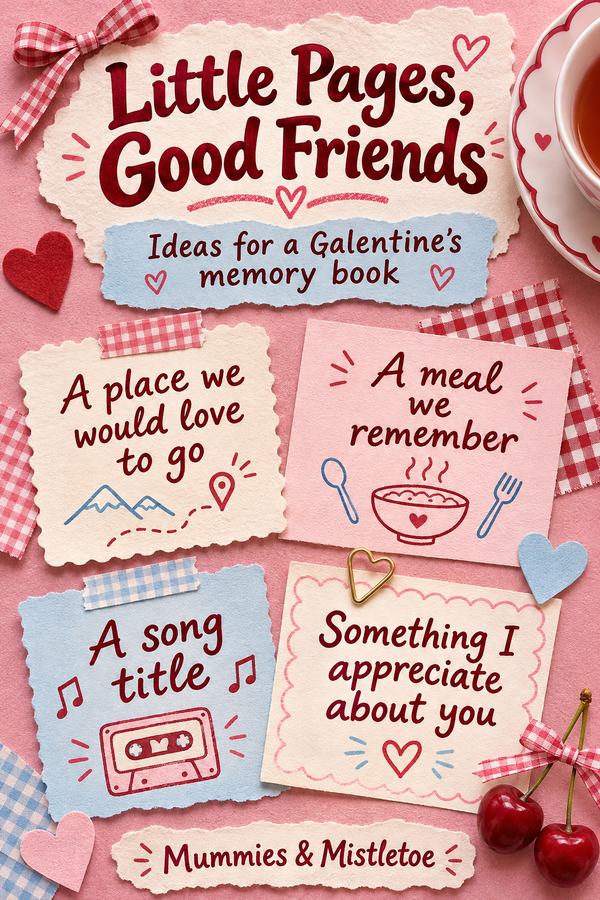
Start with a title on the front cover, such as “Afternoons Together,” “Good Company” or the owner's name. Inside, choose short prompts that fit the small pages: a place we'd like to go, a meal we remember, a song title, a tiny drawing or something you appreciate about a friend. A song title can bring back an entire afternoon in just a few words.
If you're sharing the books, let each owner decide which pages others may use. Pass a book to one friend at a time and give them a simple invitation, such as “Draw a place you think we'd enjoy” or “Write down a small thing you remember.” A little drawing or a funny shared memory is plenty.
Keep the additions fairly flat so the book closes. Thin paper shapes, pen drawings and short notes work better than thick embellishments. If a page fills up quickly, slip an extra note between the folds rather than forcing more onto the same panel.
Finish the Books Without Rushing the Glue
Open the books while the last pages dry, then close them gently and check for any loose edges. A narrow ribbon tied around the outside can hold a finished book closed, but don't pull it tight enough to bend the covers. Let each person choose whether they want a ribbon at all.
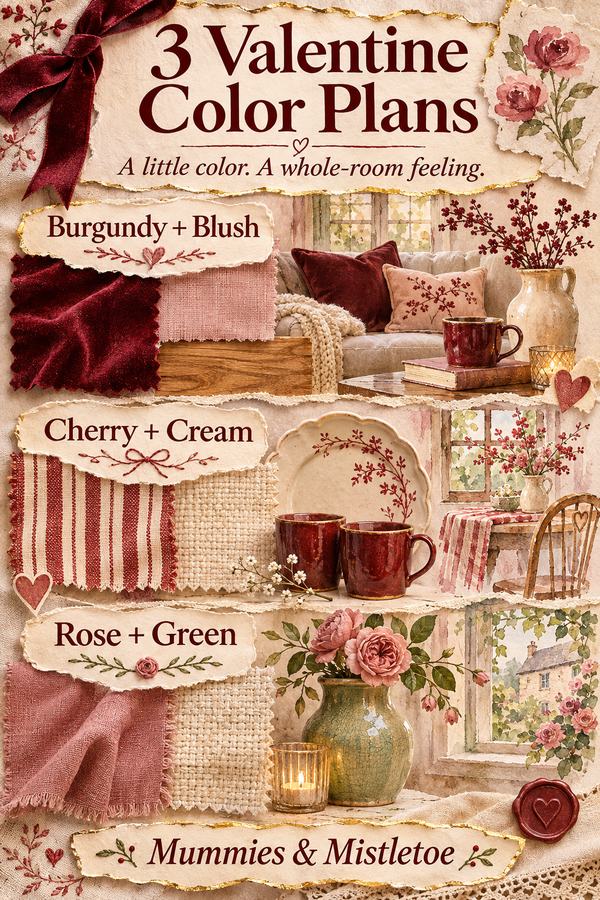
A coordinated paper pattern or set of small art cards can give the book a starting palette. Use the pattern in one or two places and let the handwritten pages remain the main attraction. The most useful supplies are the ones that leave room for personal choices.
Let the books dry open before they go into bags. At home, a book can rest beside a favorite photograph or open across a shelf, with a different memory facing out whenever its owner turns the folds.
For a friend who would enjoy a writing gift alongside the little book, explore the journals at Mummies & Mistletoe. Let the accordion book hold your shared memories and the notebook leave space for hers.