The child at the table has drawn a very tall person with a very small cup of tea. That picture is a good place to start these Mother's Day crafts for kids. A little paper book gives the drawings, funny observations and affectionate details somewhere to belong.
This version uses folded sheets, a cardstock cover and a ribbon through two holes. An adult handles the hole punch and assembly for younger children. The child's job is to decide what the book says and how the person they love looks on paper.
Gather Paper for a Small Book
Use two sheets of ordinary letter-size paper, one sheet of cardstock, crayons or washable markers, a pencil, a hole punch and a short length of ribbon. Have scissors available for the adult finishing the cover. Choose art materials appropriate for the child's age and follow their labels.
Bring the two 8 1/2-inch edges of each paper sheet together and crease the middle, making a booklet roughly 5 1/2 by 8 1/2 inches. Fold the cardstock the same way for the cover, then place the folded papers inside it with their creases together. This makes eight inside page faces, enough for a title, six prompts and a closing picture.
With the folded sheets nested inside the cover, lightly number the eight inside page faces in pencil. Then take the sheets out for drawing, using those numbers to keep the story in order. Bind them only after the drawings are finished and dry, so coloring is easier and damp ink doesn't transfer to the opposite page.
Plan Mother's Day Crafts for Kids Around Their Words
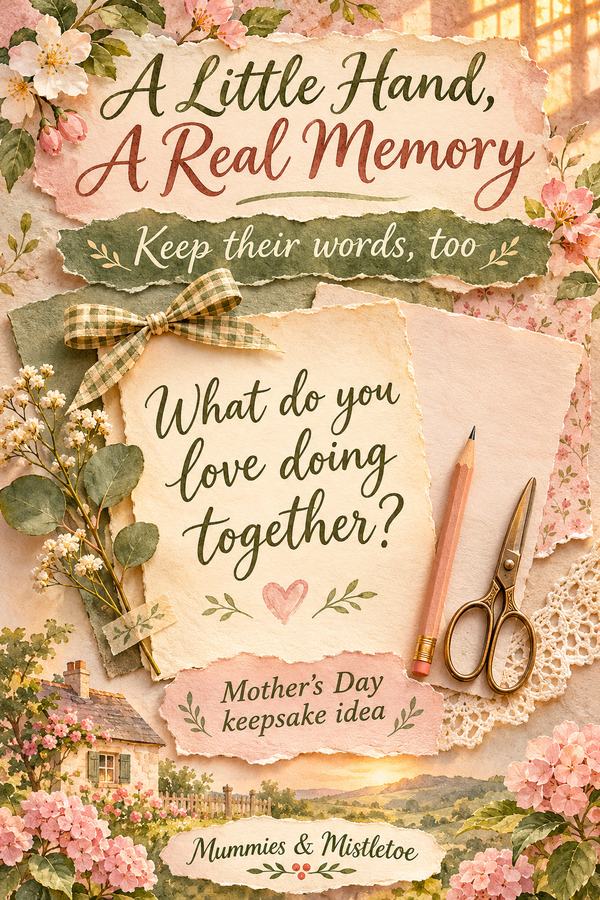
Start with a short conversation rather than handing over a page of sentences to copy. Ask the child to tell you something they do together or something she says often. Write down the answer as spoken, then let the child choose which detail belongs in the book.
A preschooler may contribute one drawing and a few dictated words per page. An early writer can finish a short sentence, while an older child may prefer a paragraph, a comic strip or a small scene with speech bubbles. Keep the format flexible enough for each child's abilities.
If the book is for Grandma, an aunt or another caregiver, use the name the child calls her. A title such as "My Book for Nana" is enough. There's no need to make the child's relationship fit a printed label.
Fill Six Pages With Specific Memories
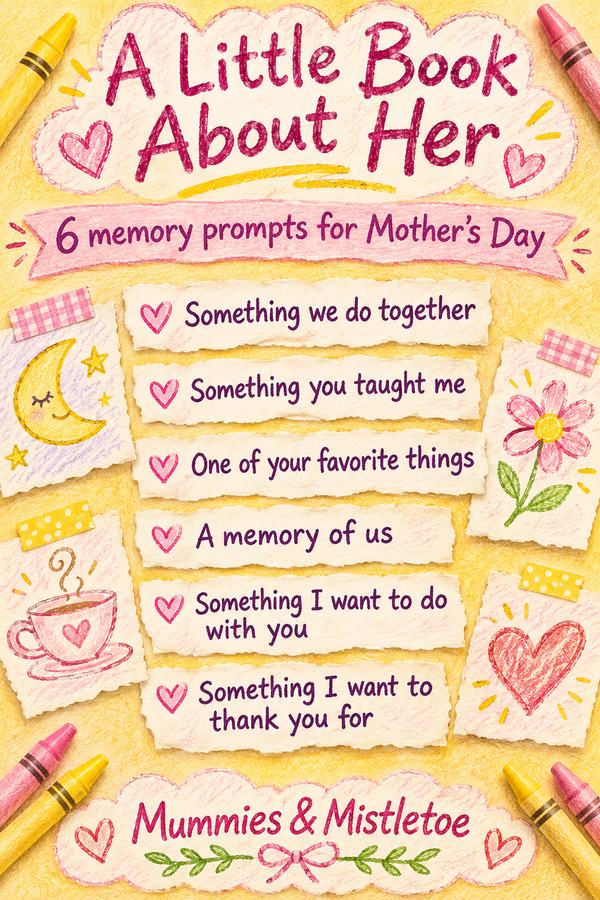
Use these six prompts in any order: "Something we do together"; "Something you taught me"; "One of your favorite things"; "A memory of us"; "Something I want to do with you"; and "Something I want to thank you for". Read them one at a time so the child can think about a particular moment.
A page might say, "I like when we look for the moon," with a drawing of two people at a window. Another might say, "You taught me to stir slowly," with a picture of a mixing bowl. Small ordinary memories often give the book more personality than a row of general compliments.
Don't supply an answer just because it sounds more polished. If the child says her favorite food is toast because that's what they see at breakfast, leave room for that observation. You can add context in small writing below the picture if the child wants help explaining it.
Add Drawings Without Crowding the Page
Give each page one main picture and place its sentence above or below it. Leave a wide margin beside the folded edge so the binding won't hide part of the drawing. For a child who likes to fill every corner, lightly mark that margin in pencil before starting.
Offer a few drawing starters: the chair she sits in, the shoes she wears for walks, the plant she waters or the snack you share. These details are easier to picture than an abstract instruction to draw love. A simple scene can show the relationship without needing an elaborate portrait.
Older children can add a tiny recurring detail, such as a flower in each picture or a cat watching from the corner. Younger children can repeat a favorite color. Let those choices belong to the maker.
Bind the Finished Pages
Put the pages back in order and close the cover around them. With the book closed, an adult can punch two holes through the stack near the folded edge, one about 2 inches from the top and one about 2 inches from the bottom. Keep both roughly half an inch in from the crease.
Thread ribbon through the two holes and tie a short bow on the outside. Leave enough slack for the pages to turn without pulling against the holes, and trim long trailing ends. Check the book by opening it gently before wrapping it.
If the hole punch won't reach through the stack, punch the cover first and use those holes to mark matching positions on the folded inner sheets. Keep the pages in order as you work. An adult can do this part while the child draws the closing picture.
Make the Cover Feel Like the Child
Write the recipient's name on the cover and add one drawing, such as the two of them holding hands or sitting together with a book. A plain cardstock background gives the child's marks room to show. The cover doesn't need extra decorations to look finished.
Wrap a strip of paper around the closed book and tape the strip to itself on the back. Let the child add a small heart or flower on the front of the band. This keeps the pages together without putting tape on the drawings.
Before the gift is handed over, invite the child to choose the first page they want to read aloud. Set the book beside her place with that page marked by a small folded paper corner.
If you'd like to tuck in a little gift for her own quiet time, browse Mummies & Mistletoe with her favorite colors and interests in mind. Let the child's book remain the part only your family could give.