The small hand rests on the paper for a moment, fingers spread just enough to trace. Mother's Day handprint crafts can preserve that ordinary detail without paint or a complicated set of supplies. A paper silhouette, a short sentence from the child and a simple frame make a keepsake that is easy to look at every day.
Keep the hand at its actual size. Let the child's words supply the personal part, whether they describe something they enjoy doing with her or a small thing they notice. Choose the frame after checking how much space the hand and message need.
Gather Supplies for Mother's Day Handprint Crafts
Set out plain paper for the first tracing, pencil, scissors, colored paper or light cardstock, adhesive suitable for paper and a plain backing. A frame can come later if you do not already have one. Use a backing color that contrasts enough with the hand shape for the fingers to show.
For a quiet combination, try a cream backing with a soft green silhouette. For a brighter room, a pale pink hand on warm white can work. Test the actual papers together before cutting, especially if they are close in color.
Give the child a clear space at the table. A grown-up can do the careful cutting while the child chooses the paper and thinks about the message. Keep the first tracing on scrap paper so you can adjust the layout without using your final materials.
Trace the Hand Without Changing Its Shape
Ask the child to place one hand comfortably on the paper. Let the fingers spread naturally rather than stretching them as far apart as possible. Trace around the outside with a pencil, moving slowly between the fingers.
Mark a short line across the wrist to close the shape. Include a little wrist below the palm. This gives the bottom a finished shape and keeps the outline recognizable.
Lift the hand and check the tracing together. If a finger moved, trace again on another part of the paper. The original shape is the detail you are trying to keep.
Make a Paper Template
Cut out the first tracing to create a template. A grown-up can handle the narrow spaces between fingers. Follow the pencil line without making the fingers thinner simply to create a more delicate shape.
Place the template on the back of the chosen paper and trace it again. Because you are tracing on the back, the finished colored side will show the reverse of that outline. Turn the template over before tracing if needed so the thumb faces the way you want in the frame.
Cut the final silhouette and erase any visible pencil marks gently if the paper allows it. Keep the first tracing in a separate envelope if you want a record. The finished silhouette can be replaced from that template if the paper tears during assembly.
Fit the Hand and Message to the Frame
Cut the backing to fit the frame's full backing recess, using its existing insert as a guide. Mark the visible opening, including any mat, and keep the hand and message inside it. Leave enough space around the fingertips and along the sides so no part of the silhouette disappears beneath the frame edge.
For an example, an opening 8 inches wide and 10 inches tall can hold a hand up to 6 inches wide with 1 inch of space on each side. The height still needs checking against the particular hand and the message below it. Measure both before choosing the frame.
If the hand is too large, choose a larger opening or change the orientation. Avoid shrinking the silhouette merely to use a frame you already own. Keeping its real size is part of what makes this version meaningful.
Ask for One Sentence in the Child's Words
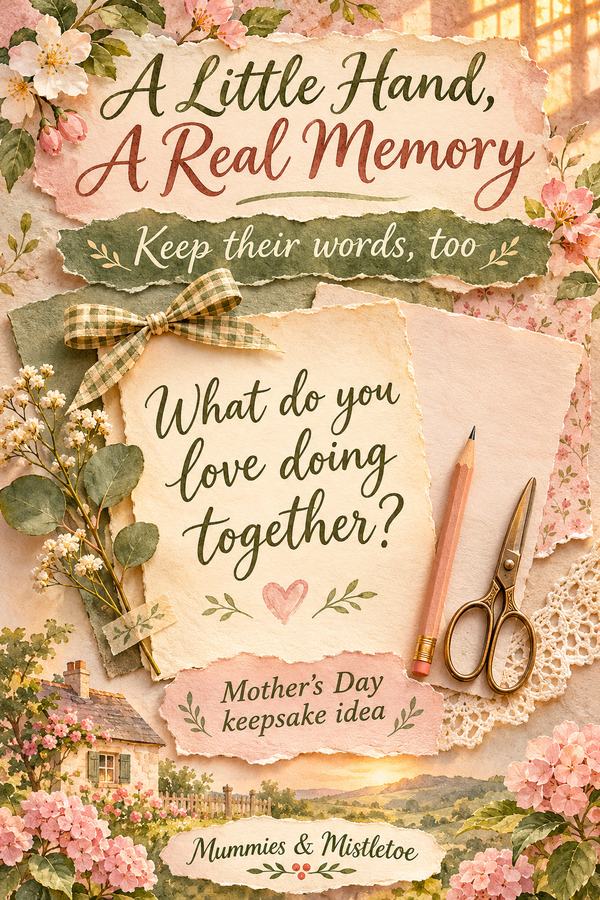
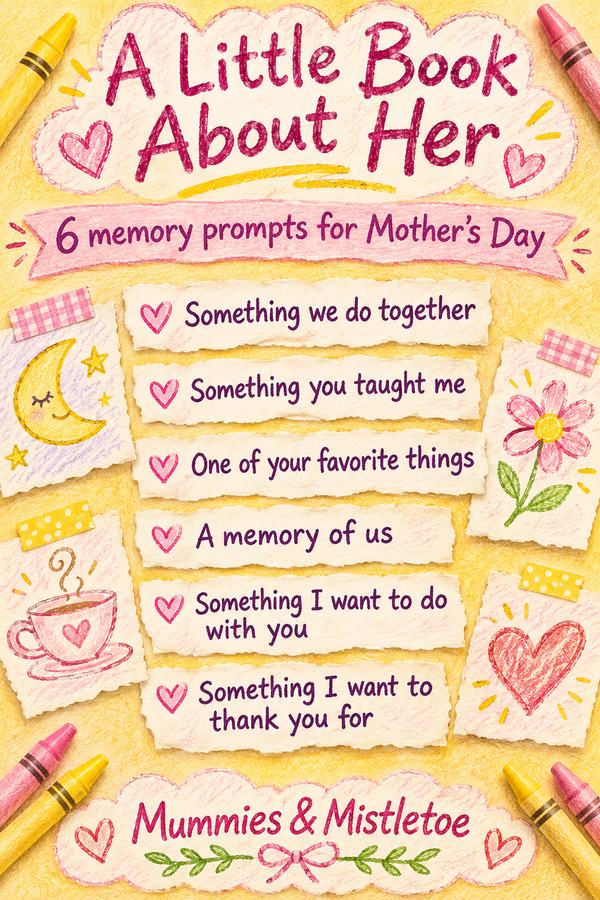
Choose a concrete prompt such as “What do you like doing together?” or “What does she do that makes you feel cared for?” Write down the answer as the child says it. A short sentence about a familiar activity gives the picture its own story.
An older child can write on a separate strip of paper. A grown-up can write for a younger child and add the child's first name below. Keep the words readable, with enough room that they do not crowd the hand.
Try the message strip in two places before attaching it: below the wrist or beside the palm if you use a wider layout. Let the hand remain the main shape. The sentence can sit quietly alongside it.
Assemble the Keepsake in a Flat Layer
Arrange the hand and message on the backing without glue first. Check them through the frame opening, then lightly mark their positions where the marks will be covered. Take a quick reference photograph if that helps you put the pieces back.
Use the paper adhesive according to its instructions, keeping the amount light enough for the paper. Support the fingertips as you place the silhouette so they do not fold under. Smooth the paper gently and let the backing dry flat before framing.
Check that the surface is dry and the paper lies flat before closing the frame. If the paper has buckled, resolve that before putting it under glazing. Keep the layers simple so the finished piece fits the frame as intended.
Let Each Child Have Their Own Space
For several children, make separate small frames or use a larger backing with room between the hands. Lay out all the actual-size templates first. Their different sizes can be part of the composition without overlapping the fingers.
Give each silhouette its own short message. Use related paper colors if you want the pieces to look like a set, but let the words remain individual. The child who mentions baking and the child who mentions bedtime stories are noticing different parts of the same relationship.
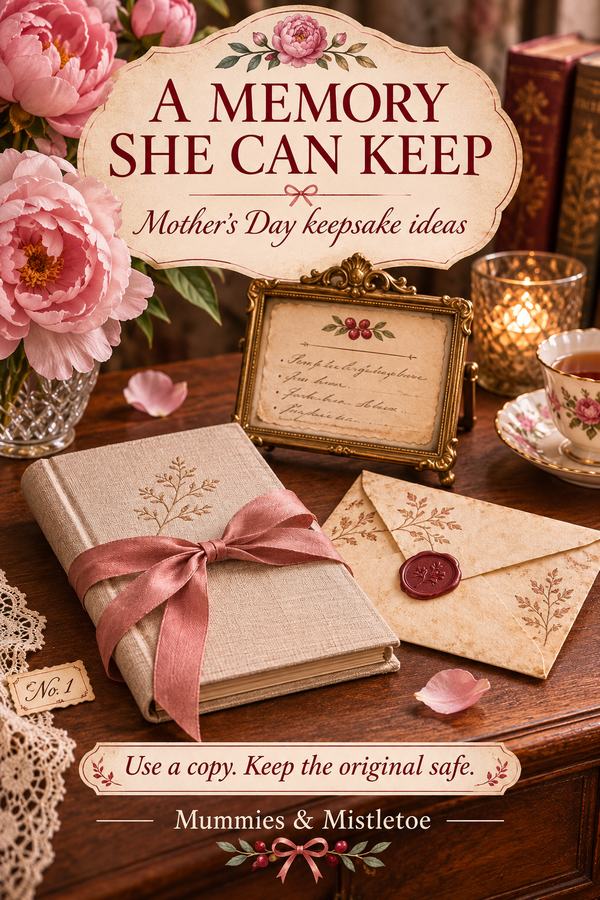
Place the finished frame on a shelf with the message visible below the hand. Keep the template in its envelope, labeled with the child's name and the date.
The handprint is a complete gift on its own. For another occasion when you're choosing something for her home or a quiet moment, you can explore the latest designs at Mummies & Mistletoe.