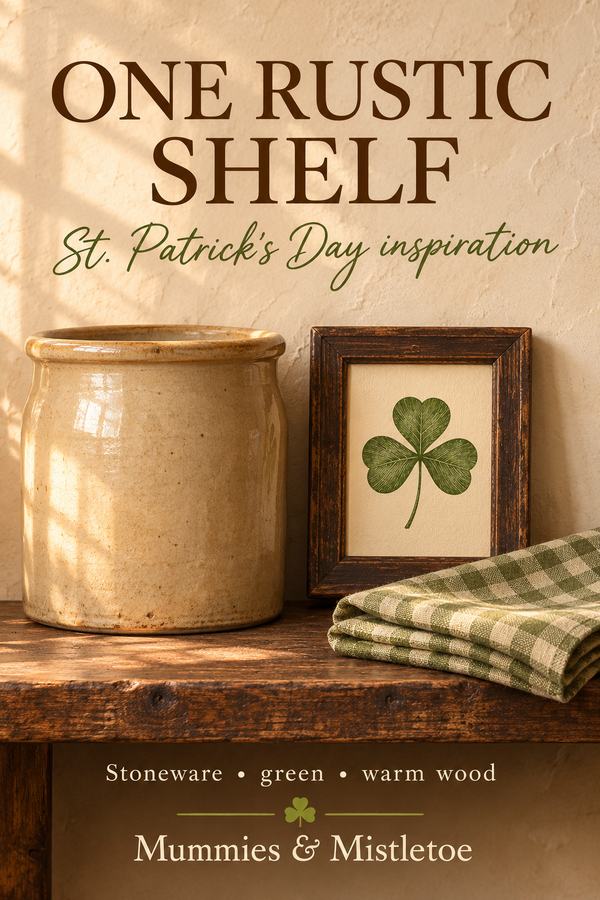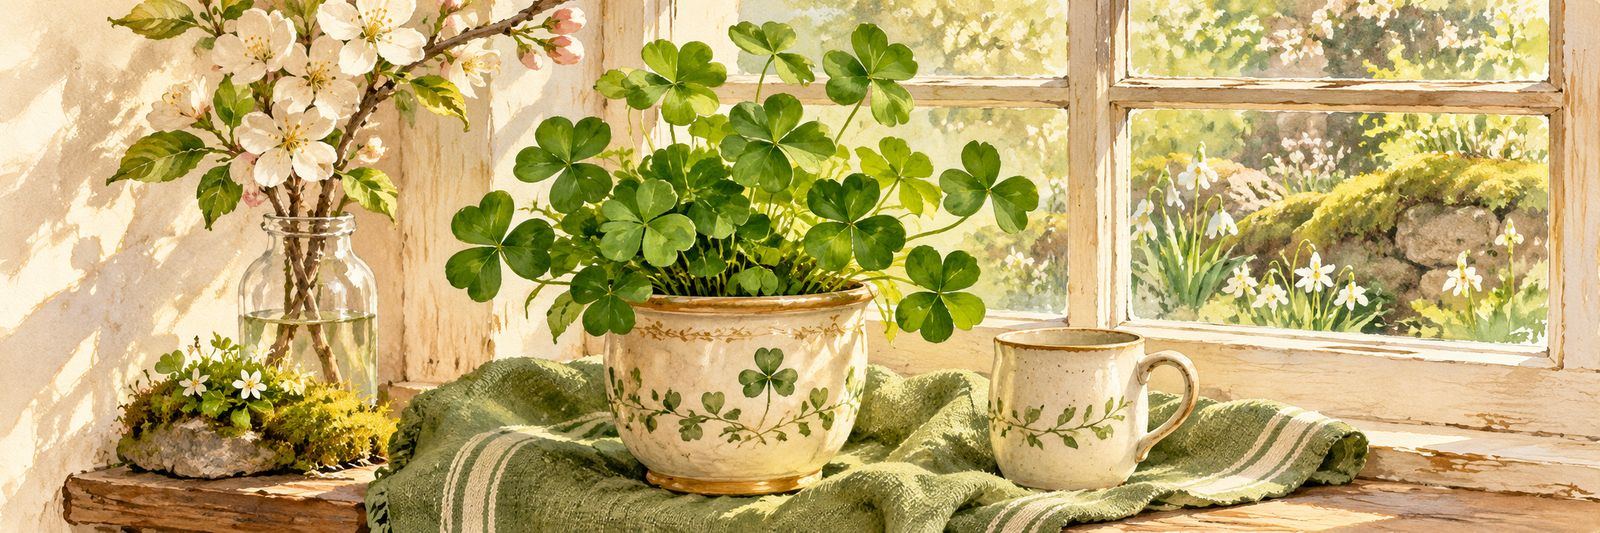
A stoneware crock and a worn wood shelf already have plenty of character. Primitive St. Patrick's Day decor can use those textures as the background for one handmade shamrock sign and a small folded textile. You don't need to darken everything with stain or alter an old piece to make the arrangement feel rustic.
For this simple, rough-textured look, make the seasonal sign from new paper and card. An old crock or well-loved shelf can stay just as it is, with its own marks and history.
Choose a Shelf With Enough Depth
Measure the shelf before gathering objects. For an example arrangement about 24 inches wide, use one crock or sturdy jug, one small framed or standing sign and a folded cloth. The exact sizes should leave each object fully supported, with room to lift it safely.
Set the crock toward one end of the shelf. Place the sign beside it, slightly forward, and use the cloth as a narrow layer beneath the sign if the surface remains stable. This gives the arrangement different heights without stacking fragile objects.
If the shelf is too shallow for the crock, move the whole arrangement to a dresser or console. Don't balance a wide vessel on the edge to preserve the plan. The same three pieces can work on a deeper surface with less risk of being knocked.
Pair Deep Green With Cream and Wood
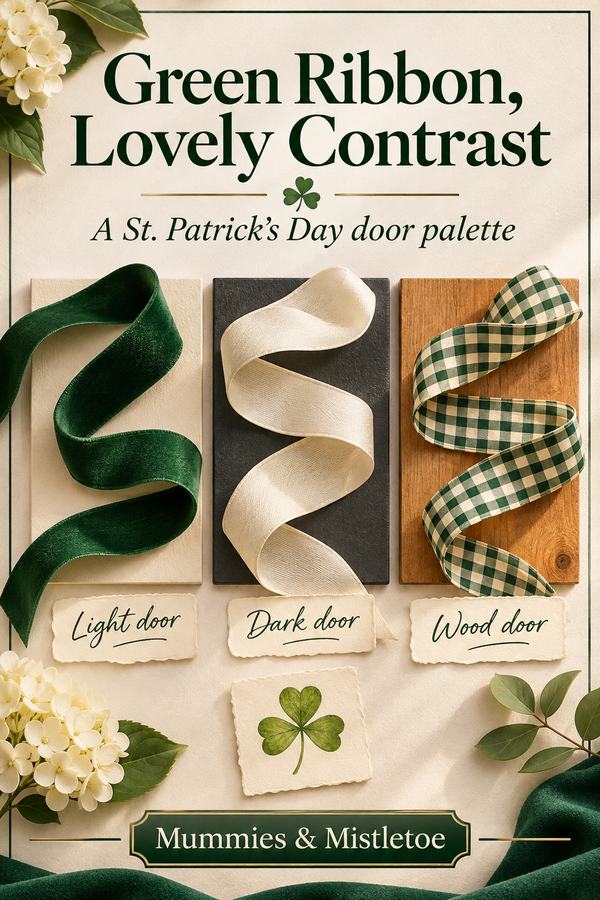
Choose a deep green, a warm cream and the brown of the wood. A faded-looking check or stripe can add pattern without needing a large printed message. Put the textile beside the crock to see whether the tones belong together.
Let the texture vary between the pieces. A smooth glazed crock, a rough-looking paper sign and a soft cloth give the eye different surfaces to notice. You don't need every object to look distressed.
If your crock has blue decoration, keep it and use a green that sits comfortably beside it. That existing blue can become a quiet part of the seasonal palette. Use the blue as a small supporting detail, not a reason to replace the vessel.
Make a Shamrock Sign From New Materials
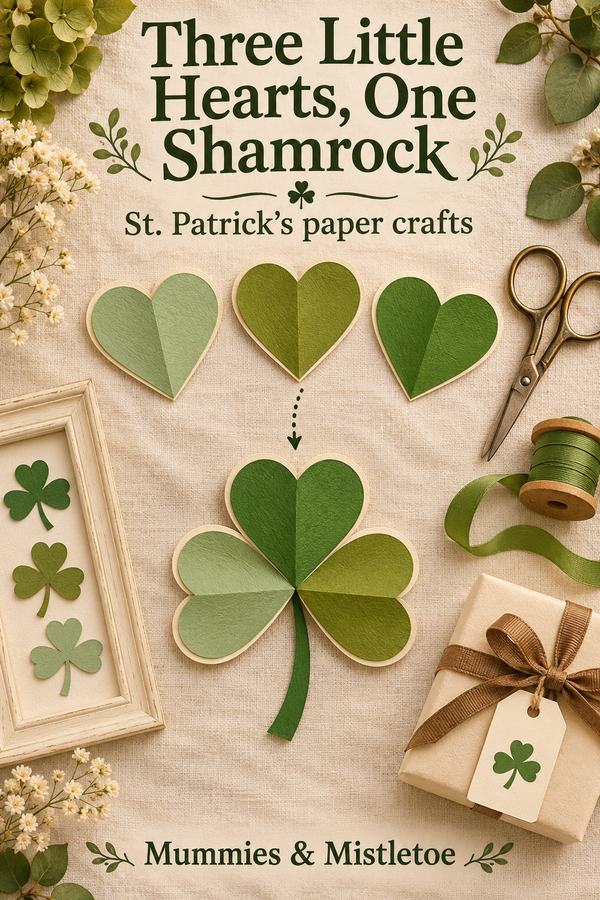
Cut a rectangle of thick card about 5 by 7 inches. Cover it with plain cream paper, smoothing the adhesive from the center outward, and let it dry flat. Draw a narrow uneven border with a brown pencil if you want a handmade edge.
Cut three green paper hearts about 1½ inches tall and arrange their points together to make a shamrock, with a short paper stem below. Glue them to the center of the cream rectangle. Leave enough plain space around the shape that it can be seen from across the room.
For a softer surface, rub a little brown colored pencil along the paper's outer edge, keeping it light. Avoid soaking the card in tea or coffee, which can warp it and leave stains on the display surface. The pencil border gives the new sign a soft, handmade finish.
Give the Sign a Secure Place
Put the finished card into a frame that fits the card, or use a stable display stand made for its size. If the frame has glass, check that the paper layers fit without pressing or bulging. A plain dark wood or cream frame will let the green motif remain the focus.
Set the sign beside the crock and check the view from the doorway. If it disappears behind the vessel, move it forward or choose a smaller crock. Don't add books or loose blocks underneath simply to gain height unless the arrangement is stable and the objects are suitable for that use.
A small art print could fill the same role when its scale, color and subject suit the shelf. The useful feature is a clear central image that reads at a distance. A detailed design meant to be studied close up may be better placed on a table.
Use the Crock Without Overfilling It
Leave the crock empty if its shape and glaze are enough, or add a few artificial branches with room between them. Choose stems that are short enough not to hit a nearby light or shelf. Bend or trim them only with tools suited to their construction.
If you use fresh material, place it in a watertight inner container rather than assuming an old crock will hold water safely. Keep moisture away from the wood and paper. Choose plant material with household safety in mind, particularly where pets can reach it.
A short green ribbon around one handle can repeat the shamrock color, but it isn't necessary if the cloth already does that. Try the arrangement without the ribbon first. You may find that the three main pieces have enough detail on their own.
Keep the Everyday Objects in Use
After the season, remove the shamrock sign and fold the cloth back into its usual place. The crock can stay on the shelf or return to the job it normally does. Save the paper sign flat if you want to use it again.
Before storing it, check for loose paper edges and repair them with the adhesive used in the original assembly. Keep the sign dry and away from heavy objects that could crease it. If the frame is needed elsewhere, store the paper flat in a protective folder.
Put the crock back on the wood and turn it to the side you like best. The small green sign can wait in its envelope until you're ready to bring it out again.
For a future seasonal accent, browse Mummies & Mistletoe with a photograph of your rustic shelf. Keep the crock and worn wood in the picture; they are the pieces a new detail needs to work with.