A folded note has a way of ending up under a book or halfway down the side of a desk. Give it a small mailbox of its own and the exchange becomes part of the fun. A name on the front makes it clear where the next little Valentine should go.
This printable Valentine box template makes a small cardstock collection box with a heart-framed name space and a lift-off lid. It suits short folded notes at home or a small desk exchange. The finished shape is approximately five inches wide, three and a half inches deep, and four inches tall.
Keep the decoration light and the messages personal. A few drawings around the name are enough to turn the printed pieces into somebody's own little postbox.
Get to know the printable Valentine box template
The file has five pages: an instruction sheet, two body pieces, a base, and a lid. Print the four component pages on cardstock and keep the guide nearby while you work. The body pieces each combine a broad panel, a side panel, and a glue tab.
The lid has a narrow slot for small folded paper notes. It also lifts off, so you can retrieve messages without turning the whole box upside down. Larger cards still need to fit inside the box's footprint; bring a sample card to the project instead of guessing about its size.
If you need to collect a large class exchange, check the teacher's requirements and choose a container with enough room. This little box is best planned around the notes you actually expect to put in it.
Gather a few ordinary supplies
Set out four sheets of medium cardstock, about 160 to 200 gsm, if your printer accepts that weight. You'll also need scissors, a ruler, a blunt scoring tool, paper glue, and pens or crayons for decorating. A clean sheet beneath the work helps keep stray glue off the table.
Print the component pages in landscape orientation on US Letter paper at Actual Size, or 100 percent. Measure the one-inch square on the second page before cutting. If the square is smaller or larger than an inch, correct the print settings and try again.
Keep a finished card or folded note beside you. It will help you choose how small to make the messages and check the slot after the lid is assembled.
Decorate while the panels are flat
Write the recipient's name inside the heart frame on the front panel. Keep the heart itself intact; it is a printed decoration, not a shape to cut out. The cut outline follows the outside of the body piece.
Add a few small drawings to the front and back. Hearts, envelopes, dots, or tiny flowers work well without covering the fold lines. Leave the glue tabs free of stickers and thick decoration so the joins can sit flat.
For a shared afternoon, give each person a different accent color while keeping the same printed box design. Let children make their own marks rather than trying to make every panel match. Finish the drawing before folding so hands aren't pressing against a hollow box.
Join the two body pieces
Cut around both body pieces, including their tabs. Score along the dashed lines with a ruler and a blunt tool, then fold the side panels inward. Scoring gives the fold a place to bend without asking you to force a clean crease through stiff paper.
Match glue tab A to edge A, then tab B to edge B. The tabs sit behind the matching edges, creating a rectangular sleeve. Use a thin layer of paper glue and hold the joins as directed by the glue's instructions.
Before leaving the sleeve to dry, set it on the table and check that its bottom edges sit evenly. The broad panels should face each other, with the narrower side panels between them. A straight sleeve makes the next steps easier.
Fit the base and make the lid
Cut out the base and score its four dashed edges. Fold the tabs upward, put glue on their outside faces, and slide the base inside the sleeve from below. Its floor should sit flush with the body's bottom edges. Press each tab against the inside wall and let the joins dry.
For the lid, cut the outside outline and the small message slot. An adult can help start the slot cut with scissors. Fold the four sides downward and the corner tabs inward. Glue those tabs behind the neighboring short sides, keeping the corners square while they set.
Once everything is dry, place the lid on the box and check that it lifts away without pulling the body out of shape. Try your sample folded note in the slot before starting the exchange.
Start a little note exchange
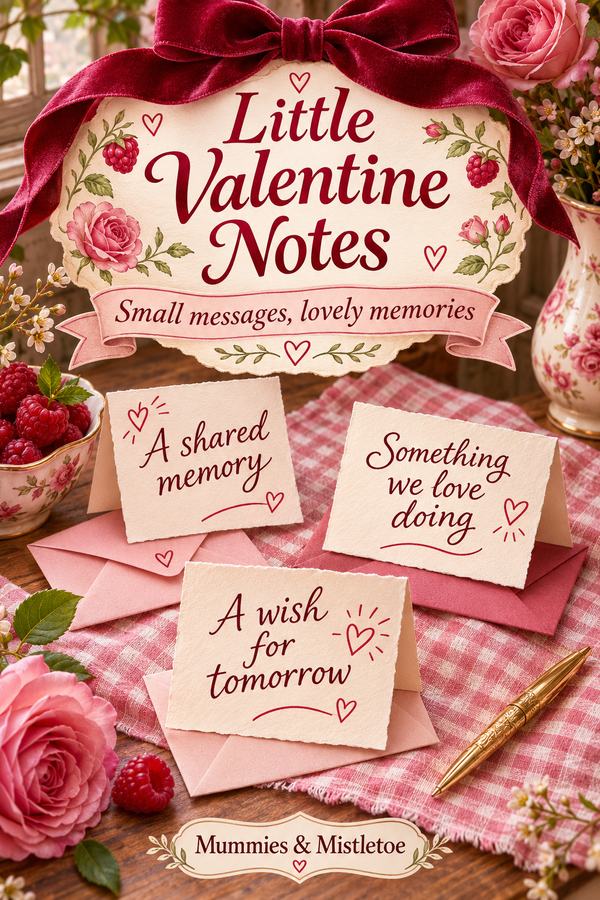
Put a few small pieces of paper beside the mailbox. A simple prompt can help: write something you like doing together, draw a shared memory, or leave a wish for tomorrow. There is no need to turn every message into a long letter.
For a family exchange, choose a time to open the boxes together or let each person read privately. For a classroom activity, follow the teacher's approach so the exchange includes everyone. Keep treats and heavy gifts in a separate container; the cardstock box is for light paper messages.
After the notes have been read, choose a few to keep inside the box. Write the occasion on the back or bottom, then set it somewhere dry. The little hearts on the outside are lovely, but the handwriting tucked inside is what you'll want to find again.
If you later pair one of the little notes with a gift, explore Mummies & Mistletoe for designs that suit the recipient. Keep the paper box for the handwritten messages and let that particular person's taste guide anything you add.