Seven colors of paper can change the whole look of a plain wall above the sideboard. Rainbow St. Patrick's Day decor doesn't have to be a large arch or a pile of small ornaments. Short paper chains hanging in a stepped arrangement give you the color, with one small pot beneath them to finish the picture.
This removable wall display is for an adult-hosted gathering; it hangs above a sideboard, clear of doorways. Make the chains on a table first and check the proportions against the wall. The finished arrangement should stay out of reach of small children and away from heat or moving doors.
Choose Bright or Muted Rainbow Colors
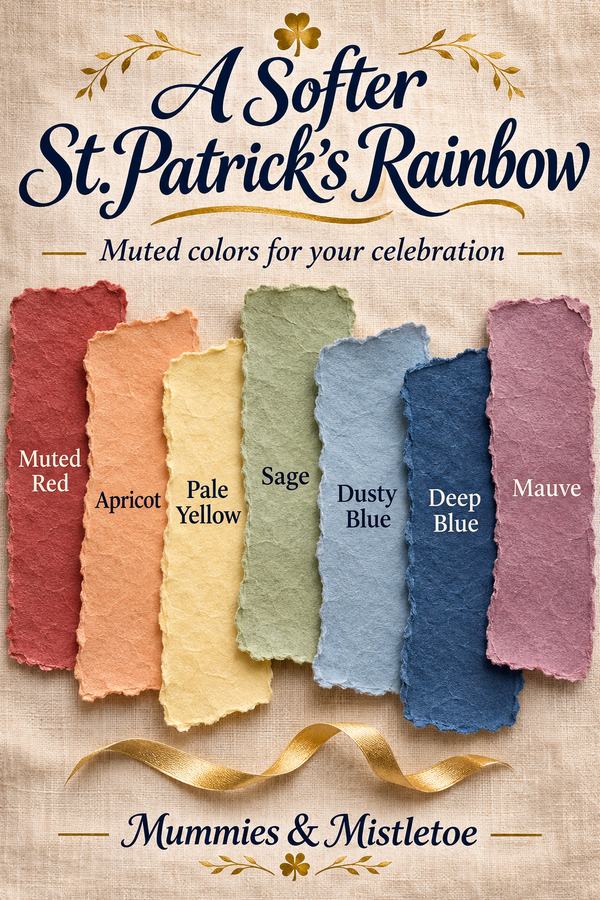
Choose seven paper colors in the familiar rainbow order: red, orange, yellow, green, blue, indigo and violet. You can use deeper or softer versions of those colors while keeping the sequence recognizable. If you have only six colors, use one blue and skip indigo.
For a softer room, try muted red, apricot, pale yellow, sage, dusty blue, deep blue and mauve. Put the sheets beside the furniture and decide whether you like the combination. The familiar color sequence will still read as a rainbow in these quieter shades.
Plan one vertical chain for each color. Set the strips out in order before assembling them, with a small written label beside each pile if the blues are similar. That keeps the sequence easy to follow when you move the pieces to the wall.
Cut the Strips and Make a Sample Link
Cut paper strips about 1 inch wide and 8 inches long. Curl one strip into a loop with about ½ inch of overlap, then secure the overlap with paper adhesive. Let it set according to the product directions before hanging weight from it.
Thread a second strip through the first loop and close it in the same way. Make three links as a sample, then hold them vertically to see how they hang. The finished chain length depends on the loop shape, paper and overlap, so use that sample to estimate the space you'll need.
Avoid heavy embellishments on the links. Plain colored paper keeps the chains light and lets the colors do their work. An adult can prepare the strips and supervise any children helping with scissors or adhesive, adjusting the materials to their age and abilities.
Build a Stepped Set of Seven Chains
For a first arrangement, make the center green chain with nine links. Make the yellow and blue chains with eight links each, the orange and indigo chains with seven, and the red and violet chains with six. That uses 51 links altogether.
Lay the finished chains on the floor or a large table with their tops aligned. The longest chain will hang in the center, with the others stepping upward toward the outside. If the shape looks too deep for your wall, remove a link from each chain or use smaller loops, keeping the relative lengths.
Leave the chains to dry before lifting them. Check every joined end, especially near the top where it carries the links below. Reglue any opening and let it dry before hanging the display.
Hang the Colors Above a Sideboard
Choose a clear wall section with enough width for seven chains and a little space between them. Try spacing the tops about 3 inches apart, then adjust after holding up the sample. The chain links need enough space to hang freely.
Use attachment products appropriate for the wall and the display's weight, following their instructions for preparation and removal. Attach each chain separately so you can adjust its height without moving the whole set. Keep the paper away from lamps, candles, heaters and appliances.
The chains don't need to reach the sideboard. Leave a visible gap beneath them, then set a small dark pot or bowl on the furniture below. You can fill it with large circles cut from gold-colored paper for the decorative pot-of-gold idea, keeping loose pieces away from young children and pets.
Let the Serving Pieces Repeat One Color
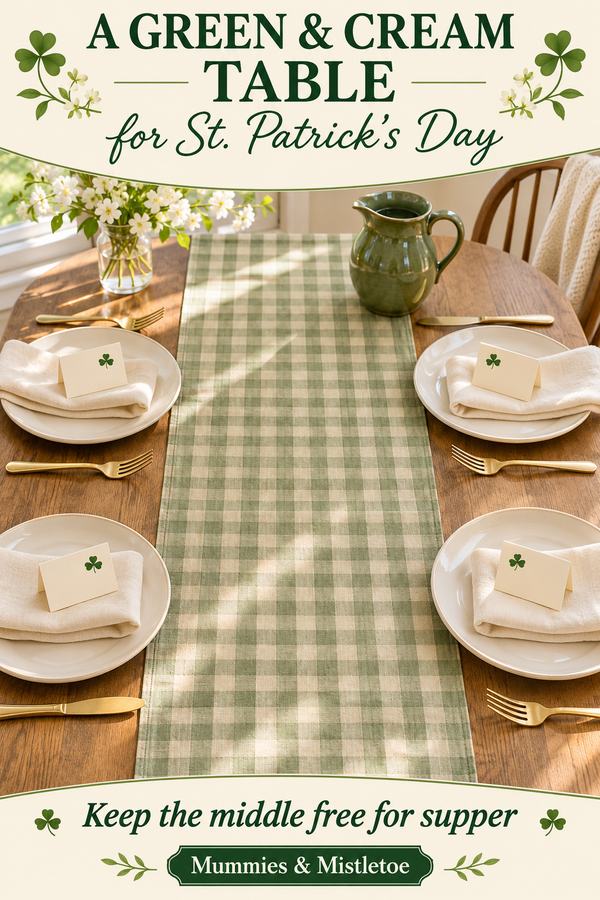
Choose one color from the chains for the napkins or a small cloth beneath the serving dishes. Green works for the occasion, while yellow or blue can connect to dishes you already own. Keep the food itself on suitable plates rather than on the craft paper.
A patterned seasonal napkin or runner can be a useful companion if its colors suit the display. Let it repeat a few colors instead of adding a second competing rainbow pattern. The wall is the main decorative feature, so plain serving pieces will still look connected.
For a gathering with children, keep the decorative pot separate from any treats. If you serve food, use an appropriate food container and check ingredients and dietary needs. The paper circles are part of the picture, not something to mix into a snack bowl.
Pack the Chains Without Flattening Every Link
Take each chain down using the attachment product's removal method. Lay the chains loosely in a shallow box, keeping the color order on a note inside the lid. Don't press a heavy stack of supplies over them.
If storage is limited, open one joined end of each link and keep the strips flat for a later project, accepting that some may need replacement. Save the color plan and the link counts so you don't have to work them out again. A photograph of your own finished arrangement can help with the spacing next time.
Repair any loose links before storing the chains, and tuck the gold paper circles into an envelope. The saved link counts and color order will make the next setup a quick one.
When you're planning the next family celebration, explore Mummies & Mistletoe for seasonal finishing touches. Keep the paper-chain measurements with your supplies so the handmade color can return alongside whatever you choose.