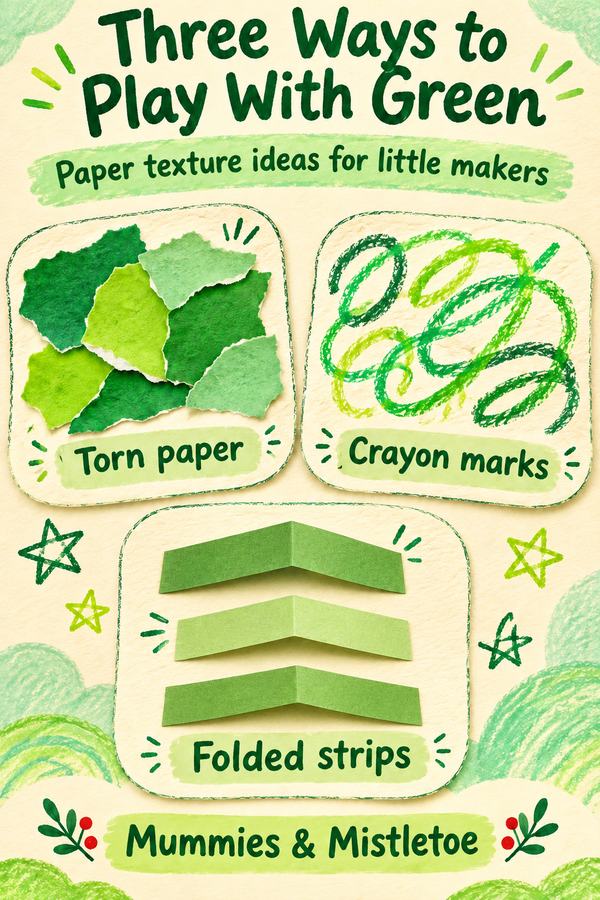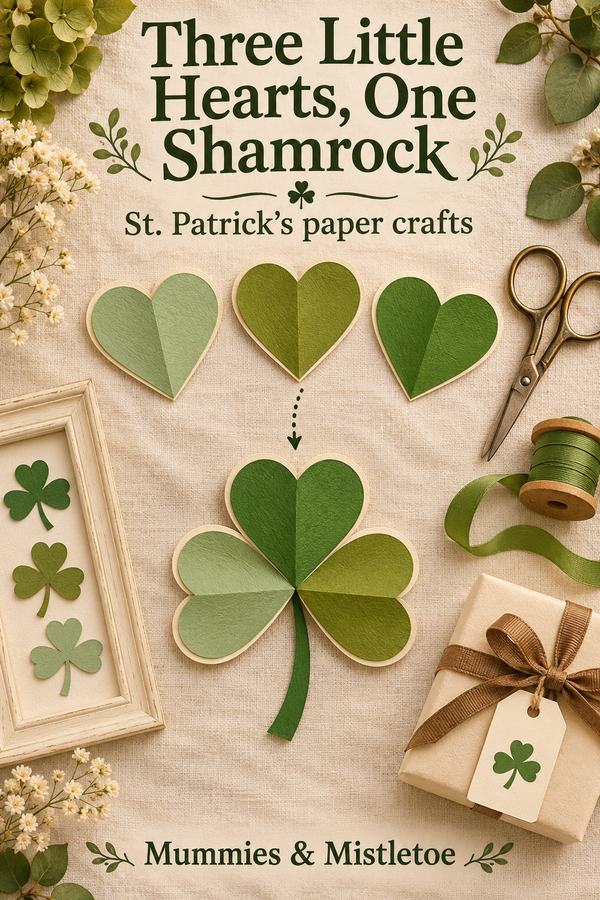
The green paper scraps are spread out, and every shade looks a little different beside the others. Shamrock crafts for kids can turn those scraps into a picture with three leaves, each made in a different way. One leaf uses torn paper, one uses crayon marks and one uses short folded strips.
The project is intended for children who can manage the materials with adult help. Adults can prepare the large leaf shapes and adapt the steps to each child's interests and abilities. A single leaf can be a satisfying project on its own.
Prepare Three Large Leaves and a Backing
Use a backing sheet roughly 12 by 18 inches and three paper hearts about 5 inches tall. Arrange the hearts with their points meeting near the center of the backing: one upright and the others angled left and right. Add a paper stem below the meeting point, then check that everything fits before decorating.
Use the hearts as a stylized shamrock pattern, with three leaves rather than four. The exact curves can vary. Make a simple pattern by folding scrap paper in half and cutting half a heart, then trace it onto the paper you'll use.
Gather green paper, crayons, a glue stick suitable for the child, scissors if appropriate and a small container for scraps. Follow the supplies' age and use guidance, supervise closely and keep small pieces away from children who mouth materials. An adult can do all cutting while the child chooses colors and places pieces.
Make the First Leaf With Torn Paper
Give the child several green paper pieces and invite them to tear strips or patches. They can make large pieces that cover the heart quickly, or smaller pieces if they enjoy the process. There is no need to turn every scrap into the same shape.
Apply glue to a small area of the heart, then press paper pieces onto it. Overlap some pieces and leave small gaps where the backing shows. Working in sections keeps the whole heart from becoming sticky before the child reaches it.
If pieces extend beyond the outline, let the glue dry and have an adult trim the edges from the back if a neat silhouette is wanted. You can also leave a few edges irregular. The difference between the paper surfaces is part of what makes this leaf interesting.
Fill the Second Leaf With Crayon Marks
Put the second heart on a protected table and choose two or three green crayons. Invite the child to try broad side marks, short lines or looping shapes. The marks can go in several directions instead of following a printed pattern.
For a child who enjoys a clear starting point, divide the heart lightly into three areas and try a different mark in each. For a child who wants to scribble freely, leave the shape open. Neither version needs to match the first leaf.
Use enough pressure for the colors to show, but let the child decide when the leaf is finished. If the crayon breaks or the child finds it difficult to hold, offer a supply better suited to their grip and follow its age guidance. The different marks give this leaf its texture.
Add Folded Strips to the Third Leaf
Cut several paper strips about 1 inch wide and 3 inches long. Fold each in half across its length, then open it slightly so it makes a shallow raised angle. The child can choose a mixture of green shades or use one color throughout.
Glue the two ends of each strip to the heart, leaving the middle fold slightly raised. Start with three strips and add more only if the child wants to continue. Keep the raised sections small enough that the paper can still be handled without collapsing.
This step needs more coordination than the other two, so an adult can hold a strip while the child presses its ends. If it becomes frustrating, glue the strips flat instead. The leaf will still have a different appearance from the torn-paper and crayon versions.
Join the Three Leaves
Let all three leaves dry before arranging them on the backing. Place their points together as you did at the beginning, then glue them down. Put the stem beneath the meeting point to join the leaves into one plant shape.
Invite the child to choose which texture goes at the top. They can add a title, a name or a few drawn marks around the outside if they want. Leave enough room around the leaves that the different surfaces remain easy to see.
For a group activity, each child can make one leaf and three children can combine their work into a larger picture. Agree on that plan before they begin so no one is surprised to have their work become part of someone else's. Label the shared picture with the names the group wants to include.
Display the Picture Where It Can Be Examined
Hang the dry picture at a height where the child can look closely at the paper without pulling it down. Use an attachment suited to the display surface. A shelf or a temporary art board can work if the raised strips make a frame awkward.
Ask a concrete question if the child wants to talk about it: which paper was easiest to tear, which green they chose first or which leaf took the longest. The torn edges, looping marks and raised strips give you plenty to notice together.
Put the leftover green pieces in a small envelope for another day. Set the picture nearby while it finishes drying, with the folded strips still casting their little shadows across the third leaf.