A child has written a friend's name across a sheet of pink paper, and now the note needs somewhere to go. These Valentine's Day crafts for kids turn that message into a little mail set. Make a heart pocket, tuck in a folded strip of words or pictures, then deliver it with a label made for the recipient.
Gather the Paper and Make a Heart Pattern
Gather sturdy paper in two or three colors, plain writing paper, crayons, a glue stick, child-safe scissors and a ruler. A grown-up can prepare the shapes for children who aren't cutting independently. Keep a sheet of scrap paper under the work while gluing.
For each mail set, you'll need two large matching hearts, one long paper strip and one small label. Make the hearts about six inches tall so there is room for the message inside. The strip can be about two inches wide and eight inches long.
Use the same heart outline for both sides of the pocket. Fold a scrap sheet in half, draw half a heart along the fold, cut it out and open it to make the pattern. Trace that pattern twice onto sturdy paper.
Let the child choose the recipient before decorating. A note for a grandparent may have a different picture or message from one for a classmate, and that choice gives the project a purpose.
Make a Heart Pocket With an Open Top
Put one heart face down on the scrap paper. Run a narrow line of glue along the lower curved edges and point, stopping before the two rounded lobes at the top. Leave the top section unglued so the message can slide in.
Lay the second heart on top, matching the edges, and press gently around the glued area. Keep the center free of glue. Let the pocket dry flat before testing the opening with the paper strip.
If the strip catches, narrow it slightly rather than forcing it into the pocket. You can also make the pocket from a larger heart if the message needs more room. A broad opening is easier for small hands to use.
Decorate the front with drawn lines, big dots or a smaller paper heart. Leave the recipient's name visible. The back can hold the sender's name or a small drawing that continues the picture.
Fold a Message That Opens a Little at a Time
Fold the long paper strip in half, then fold each end back toward the middle to make four panels in a zigzag. Open it flat again for drawing or writing. Keep the folds visible so the child can see the separate spaces.
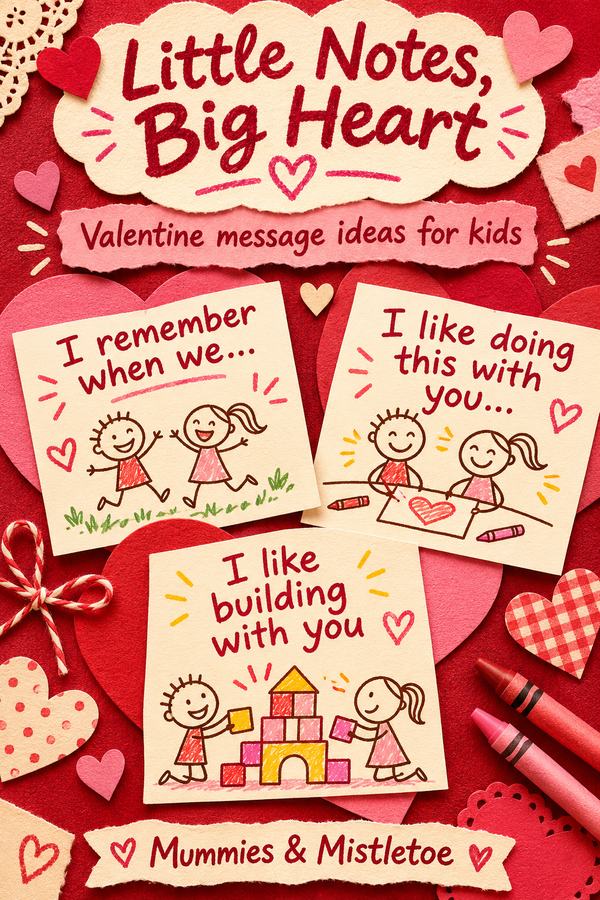
Use one panel for a greeting, two for the message and one for the sender's name. A child might draw two people playing, write 'I like building with you,' and finish with a little picture of their favorite shared game. The message can be entirely drawn.
For a child who wants a prompt, offer 'I remember when we...' or 'I like doing this with you...' Ask which shared memory they'd like the message to bring back. An adult can write the child's words while the child adds the pictures.
Fold the finished strip again and slide it into the dry heart pocket. Leave a little of the first panel showing so the recipient knows where to pull. Test it once before adding the final label.
Draw a Delivery Label
Cut a small rectangle of paper and write To at the top, leaving space for the name. Add a drawing that connects to the recipient, such as a book, a flower or a pet. Keep the label large enough to read without covering the whole pocket.
Glue it to the front of the heart, or place it inside with the message if the front already has a large name. A border of tiny hearts can frame the writing. Skip loose decorations that would get in the way of opening the pocket.
For several cards, make a simple recipient list and check off each completed set. Let the child choose different message details for different people. The basic construction can repeat while the words remain personal.
If the cards are for a class or group, follow its guidance about distribution. For a larger batch, cut the pockets one afternoon and save the messages for another.
Change the Project for Different Makers
A younger child can decorate precut hearts and dictate one short message. An older child can draw the pattern, measure the strip and experiment with more panels. Keep the pocket large enough for whatever goes inside.
For a child who prefers drawing to writing, make the message a four-picture story. It might show meeting a friend, playing a game, laughing and waving goodbye. Ask the child whether they'd like words added beneath the pictures.
A child who enjoys design can choose a small palette for the whole set, such as red, pale pink and cream. They can repeat one border or mark on the pocket and label. The repetition makes the pieces look connected without requiring every heart to be identical.
Offer help at the sticking points and leave the creative choices with the maker. A crooked label can still carry a very thoughtful message.
Deliver the Finished Heart
Let the glue dry fully before putting the set in a bag or envelope. Check that the message strip comes out easily and that the recipient's name is on the outside. If the pocket is fragile, slide it into a larger envelope for the trip.
Invite the child to hand it over or choose where the recipient will find it. A breakfast place, a desk or a family mail spot can all work when the recipient is expecting a surprise.
Save the heart pattern for another note. The next pocket might hold a birthday message, a thank-you or a four-picture story about an ordinary afternoon together.